


![Canon RF 7-14mm Fisheye Setting It Up // Ikelite Underwater Housing [VIDEO]](http://www.ikelite.com/cdn/shop/articles/Set_Up_Canon_RF_7-14mm_Fisheye_Blog_Cover_838c961f-0ed3-4e78-aafa-b906cf5db8f4.jpg?v=1776430264&width=1500)
Featuring John Brigham
A fisheye lens is the worst kept secret of the wide angle underwater photographer. Canon has unleashed "the world’s widest fisheye zoom lens to date" - with a circular 190º fisheye at the wide end (7mm) and diagonal 180º fisheye at the telephoto end (14mm). The Canon RF 7-14mm F2.8-3.5L Fisheye STM Zoom Lens is the first native mirrorless fisheye zoom from a major manufacturer and its going to be in heavy use for years to come by all of us shooting Canon mirrorless cameras underwater.
John Brigham, VP and head of product development at Ikelite, shows how easy it is to install the RF 7-14mm in your Ikelite 50DL, 200DL, or 200DLM/D underwater housing.
Canon RF 7-14mm f/2.8-3.5L Fisheye STM
Fisheye lenses are iconic in underwater photography and the Canon 7-14mm fisheye is carrying on that legacy. Learn how easy it is to install this exciting new lens in your DLM or DL Underwater Housing.
If you have the DL system, jump to the DL Underwater Housing instructions.
Dome Port Options for DLM Underwater Housings
When it comes to the DLM system, we have two different port options. We have a smaller DLM 6 inch Dome Port with Zoom with the Zoom Gear which will allow you to zoom the lens through its zoom range and it provides a smaller footprint, making it very maneuverable in the water.
Alternatively, we have a large DLM 8 inch Dome Port with the DLM 1.2 Inch Port Extension that does not have zoom functionality, but it will help you split that water line for the always-in-demand split shots.
For this demonstration we'll be assembling the DLM 6 inch dome port because the large dome port doesn’t utilize the gear sleeve and it has a lot of the same features and assembly. Everything you learn here can be applied to the full size port option too.
![Canon RF 7-14mm Fisheye Setting It Up // Ikelite Underwater Housing [VIDEO]](https://cdn.shopify.com/s/files/1/0866/6704/files/Set_Up_Canon_RF_7-14mm_Fisheye_DLM_1024x1024.jpg?v=1776395512)
The compact dome port will not only provide you zoom functionality with this lens but its also a great, streamlined setup for easy maneuverability underwater.
Rear and Front Loading Options for DLM Underwater Housings
This system can either be rear-loaded or front-loaded depending on your preference.
Rear-loading allows you to install the camera and lens together and then load both in through the back of the housing. This is option is useful if you find yourself shooting both underwater and topside throughout the day.
Front-loading allows you to install your camera through the back of the housing and then attach the lens to the camera through the front port opening of the housing. This option is useful if you're planning to shoot multiple lenses underwater throughout the day. This way you can leave your camera body in the housing and exchange lenses as needed.
Canon RF 7-14mm Limit Switch
To start, remove the cap on the lens and the lens hood as this lens hood will interfere with the port system.
This lens also has a limit switch. If you're shooting a crop sensor camera, this will limit the zoom range of the lens, just under 9-14mm. This prevents you from accidentally zooming to a wider field of view and seeing the black corners produced by the lens itself. Utilizing the limit switch is a personal preference, it is not necessary that you use this switch. In fact, turning the switch off will allow you to get a slightly wider field of view but you'll need to keep in mind that you'll have to rely on cropping or some sort of content-aware fill during your post-editing process.
Installing the Zoom Gear and Lens for DLM Underwater Housings
For front-loading installation the first step is to install the camera in the housing. Then, turn the housing over so the front is facing you and drop the zoom gear into place in the port opening on the DLM housing with the gear teeth facing up (away from the camera body). Then remove the body cap from your camera and the back cap from the lens.
Next you'll attach the lens to the camera by bayonetting it into place through the port opening. Keep in mind this zoom gear features five pads on the inside diameter and the lens itself features two small bumps that are intended for filters, you'll need to make sure you avoid the five pads by sliding the lens with the bumps between these pads. Then you'll feel those pads engage with the lens as they make a friction fit around the zoom ring of the lens.
Once your lens is properly attached to the camera body you can test for zoom functionality by moving the gear sleeve and you should see the lens zooming internally.
![Canon RF 7-14mm Fisheye Setting It Up // Ikelite Underwater Housing [VIDEO]](https://cdn.shopify.com/s/files/1/0866/6704/files/Set_Up_Canon_RF_7-14mm_Fisheye_Removing_Zoom_Gear_DLM_1024x1024.jpg?v=1776395375)
Insert the zoom gear into the port mount opening gear teeth side up, as pictured here.
Installing the Dome Port for DLM Underwater Housings
To attach the dome port, loosen all three thumb screws of the dome port so they're not protruding into the inside diameter of the port. Then, using the provided Ikelite lubricant, apply a small amount of lubricant to the o-ring on the port mount of the housing and then apply a small amount to the sealing surface on the inside diameter of the port of the dome. While you do this you should be checking for any debris that could potentially compromise the seal of your housing.
Next, pull the drive gear knob out just slightly from the side of the dome port then determine which side you'd like to have this knob on once it's attached to the housing. We recommend putting this on the left side since you'll be using your right hand for the shutter button on your housing and this will allow your free left hand to zoom the lens. But this is up to personal preference.
Align the port onto the front of the housing and then press down until it seats evenly all the way around the circumference of the port mount. Now you can push in on the drive gear knob and you'll notice it engages with the gear sleeve on the inside of the port. Turn this knob to test for zoom functionality. Tighten all three thumbscrews finger-tight. These thumbscrews don't create the seal, they just prevent the port from being pulled off so finger-tight is perfectly fine.
Removing the Dome Shade
Depending on your shooting style, for example you always shoot at 15mm, you can get away with leaving the dome shade attached to your dome port. Otherwise, as you zoom backward toward 7-9mm (depending on whether or not you have the limiter switch turned on), you're going to catch some of the dome shade in your field of view. If that's an issue all you need to do is remove the dome shade.
This process is very simple. Loosen the three setscrews on the shade using the included Allen key. Once all three setscrews are backed out you can simply remove the shade from the dome port. With the shade removed it is good practice to keep your dome covered when not underwater especially if you're on a crowded boat where the dome could be scratched.
If you find yourself going in and out of the water and requiring access to your camera from the back of the housing we recommend leaving these setscrews backed out and using the shade as a base for your housing to be place on its face while still protecting the actual dome.
![Canon RF 7-14mm Fisheye Setting It Up // Ikelite Underwater Housing [VIDEO]](https://cdn.shopify.com/s/files/1/0866/6704/files/Set_Up_Canon_RF_7-14mm_Fisheye_Removing_Dome_Shade_DLM_1024x1024.jpg?v=1776395038)
Use the provided Allen key to loosen the setscrews on your dome shade, as pictured here.
Remove the Camera with the Lens Installed
If you want to remove the camera and lens together through the rear-loading option to shoot it topside all you need to do is place the housing on its face using the dome shade as your base to protect the dome and then release the locking mechanism of your housing. Remove the clear back and move any controls out of the way then pull the camera and lens out together, remove the hotshoe, and then you're able to go shoot your camera topside. You can even leave the housing camera mount in place because this features a 1/4-20 tripod mount if you plan to use a tripod topside.
When you're ready to take it back underwater all you need to do is drop it into the housing through the back, reattach the hotshoe, realign the controls, and reattach the housing back and lock the lid snaps.
Equipment Used for the Canon RF 7-14mm Fisheye Lens with a DLM Underwater Housing
|
Option 1 Streamlined for maneuverability underwater, provides zoom functionality |
Compact Dome Port: DLM 6 inch Dome Port with Zoom # 5516.16 Zoom Gear # 5509.62 |
|
Option 2 Great for split shots |
Full Size Dome Port: DLM 8 inch Dome Port # 5516.82 DLM 1.2 Inch Port Extension # 5516.65 Optional Accessory: Trim Weight # 47141 |
If you're not planning to also use this lens inside of a DL Underwater Housing then you're ready to go diving! We always recommend pulling a vacuum on your housing to check for leaks and also to reinforce all the closing mechanisms on your housing.
If you have any questions about this assembly process, or anything underwater photography related, reach out to our team.
If you plan to also use this lens inside of a DL Underwater Housing, keep reading.
Dome Port Options for DL Underwater Housings
The following instructions are for 50DL or 200DL underwater housings.
There are two different port choices for this lens for DL underwater housings. The first option is the full size DL 8 inch Dome Port with DL 20mm Port Extension and Zoom Gear, which allows you to capture crowd-pleasing split shots.
The second option is the DL Compact 8 inch Dome with the DL 28mm Port Extension and Zoom Gear. This option is a smaller dome and provides excellent maneuverability while underwater.
For this demonstration we're going to be installing the compact dome port. No matter which port you choose, the gear sleeve assembly here is going to be the same.
Rear and Front Loading Options for DL Underwater Housings
This system can either be rear-loaded or front-loaded which is up to personal preference.
Rear-loading allows you to install the camera and lens together and load both in through the back of the housing. This is a good option if you find yourself shooting both underwater and topside back and forth throughout the day.
Front-loading allows you to install your camera through the back of the housing and then attach the lens to the camera through the front port mount of the housing. This is a good option if you plan to shoot multiple lenses underwater throughout the day, then you can leave your camera body in the housing and exchange lenses as needed.
![Canon RF 7-14mm Fisheye Setting It Up // Ikelite Underwater Housing [VIDEO]](https://cdn.shopify.com/s/files/1/0866/6704/files/Set_Up_Canon_RF_7-14mm_Fisheye_DL_1024x1024.jpg?v=1776395845)
The compact dome port with a DL underwater housing is a great option if you're looking to streamline your system.
Installing the Zoom Gear and Lens for DL Underwater Housings
To front-load the lens, install your camera in the housing then turn the housing over so the front is facing you. Using the included tool, remove the zoom gear retainer and housing dust cap, store the dust cap with your spare parts. Install the zoom gear teeth side down, toward the camera body. Then, reinstall the zoom gear retainer ring and tighten using the tool, this does not need to be overly tight.
Remove the lens cap and lens hood from the lens itself. For this demonstration we're installing the lens on a full frame camera, so we want to ensure that the limiter switch is set to the OFF position so that you can use the full range of the lens. Remove the body cap from the camera.
This lens features two small bumps which support a filter, when you're front-loading this lens you want to make sure you avoid the five pads by sliding the lens with the bumps between these pads. As you install the lens you'll feel these five pads engage with the zoom ring on the lens. Firmly press the lens the rest of the way down and bayonet it into your camera body.
Installing the Dome Port for DL Underwater Housings
Attach the extension and dome port together, backing the thumb screws out of the inside diameter of the dome port, adding the including Ikelite lubricant to the o-ring and sealing surfaces when you put these together. While applying lubricant use this time to also check for any debris which can compromise the seal. Then, back the thumbscrews out of the extension before you attach it to the port mount of the housing, add lubricant and check the sealing surfaces of the port mount and extension.
There are three pockets on the port mount and these will align with the three thumbscrews on the extension. One of these thumbscrews aligns with one of the shades on the dome port, these will align with the top of the housing. Then press all the way down to seal the dome port onto the housing and make sure it is even around the entire circumference. Then tighten the thumbscrews, these only need to be finger tight as they do not create the seal they just prevent the port from being pulled off.
![Canon RF 7-14mm Fisheye Setting It Up // Ikelite Underwater Housing [VIDEO]](https://cdn.shopify.com/s/files/1/0866/6704/files/Set_Up_Canon_RF_7-14mm_Fisheye_Dome_Port_DL_1024x1024.jpg?v=1776396156)
The thumbscrews that align with one of the dome shades of the dome port will align with the top of the housing, as pictured here.
Removing the Dome Shade
Depending on your shooting style, if you're shooting at a constant 15mm, you can leave the dome shade attached to your dome port. Otherwise, as you zoom back toward 7-9mm, you're going to see some of the dome shade in your field of view. If this is an issue, simply remove the dome shade.
This process is very simple. Loosen the three setscrews on the shade using the included Allen key. Once all three setscrews are backed out you can simply remove the shade from the dome port. With the shade removed it is good practice to keep your dome covered when not underwater especially if you're on a crowded boat where the dome could be scratched.
If you find yourself going in and out of the water and requiring access to your camera from the back of the housing, we recommend leaving these setscrews backed out and using the shade as a base for your housing to be place on its face while still protecting the actual dome.
Remove the Camera with the Lens Installed
If you want to remove the camera and lens together through the rear-loading option, place the housing on its face using the dome shade as a platform to protect the dome and then release the locking mechanism of your housing. Remove the clear back and move any controls out of the way. Pull the camera and lens out together, remove the hotshoe, remove the USB-C, and then you're able to go shoot your camera topside. You can leave the housing camera mount in place because this features a 1/4-20 tripod mount if you want to use a tripod topside.
When you're ready to take it back underwater all you need to do is reverse the process and drop it back into the housing, reattach the hotshoe, reattach the USB-C, realign the controls, and reattach the housing back and lock the lid snaps.
Equipment Used for the Canon RF 7-14mm Fisheye Lens with a DL Underwater Housing
|
Option 1 Great for split shots, provides zoom functionality |
Full Size Dome Port: DL 8 inch Dome Port # 75340 DL 20mm Port Extension # 75020 Zoom Gear # 5509.62 Optional Accessory: Trim Weight # 47140 |
|
Option 2 Streamlined for maneuverability underwater, provides zoom functionality |
Compact Dome Port: DL Compact 8 inch Dome # 75344 DL 28mm Port Extension # 75028 Zoom Gear # 5509.62 |
Now you're ready to take the exciting new Canon RF 7-14mm fisheye lens underwater. We always recommend pulling a vacuum on your housing to check for leaks and also to reinforce all the closing mechanisms on your housing.
If you have any questions about this installation procedure, or anything underwater photography related, please reach out to us.
Additional Viewing
Finally a New Fisheye for Underwater! // Introducing the Canon RF 7-14mm Lens [VIDEO]
Why You Need a Fisheye Lens Underwater
Rectilinear vs Fisheye Lenses for Underwater Wide Angle Photography [VIDEO]
Canon Mirrorless Lineup Explained for Underwater [VIDEO]
Custom White Balance for Underwater with Canon Mirrorless Cameras [VIDEO]
 John Brigham is the Vice President & head of product development at Ikelite. He was born with a flair for design and an entrepreneurial spirit as son of Ikelite founder Ike Brigham. He worked his way up in the business and is a natural fit in the R&D side of things. John dives the equipment as much as possible to test product and put himself in the "fins" of the user. You may also find him on the other end of an email or phone call when you reach out for product advice and support. When he's not underwater he's flying drones, setting off rockets, training his German Shepherd "T2", and spending time with his family.
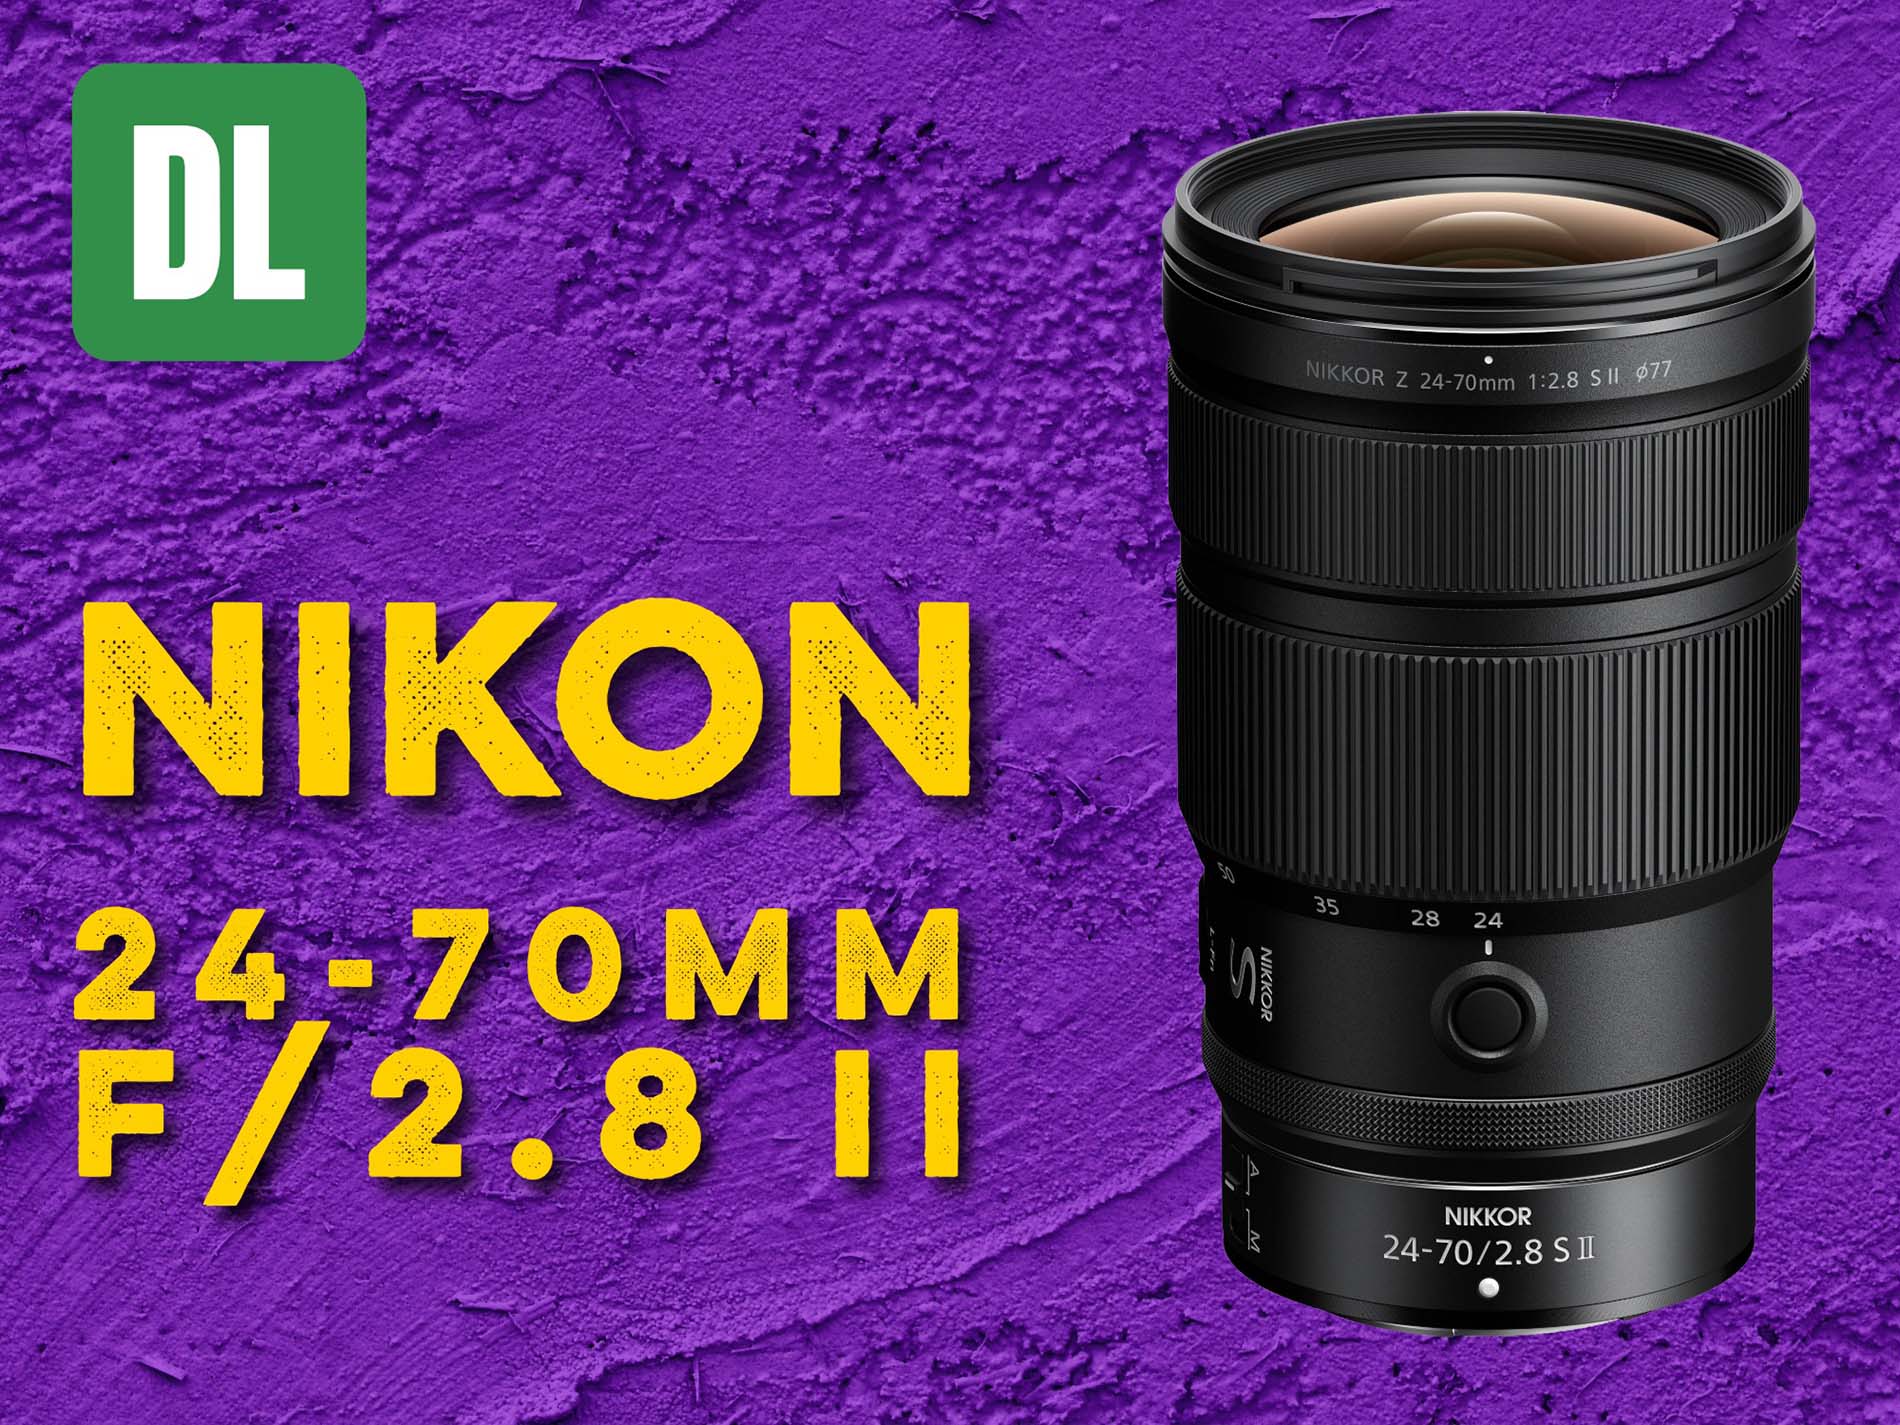