


![Tips for Shooting Split Shots with Your Underwater Housing [VIDEO]](http://www.ikelite.com/cdn/shop/articles/tips-for-shooting-split-shots-underwater-housing.jpg?v=1713486663&width=1500)
Split shots or "over-unders" - where the frame is half-in, half-out of the water - are some of the most iconic images in underwater photography. They have the unique ability to draw almost any viewer in and inspire their curiosity about life just under the surface of the water.
Of course shooting these 50/50 images comes with some unique challenges. Ikelite photo guru Steve Miller gives you his insights from over 40 years of shooting and teaching underwater photography.
Enjoy the video which is full of sample images or read the transcript below.
One of my favorite kinds of underwater images is called a split shot, or an over-under. And you can do these on virtually any dive, especially at the very beginning or the end of the dive when you're close to the surface.
Let's talk about some tips and tricks to make these a little easier to capture. I think a lot of us find over-unders to be one of the more compelling images that we capture because it's one of the few times that you can unite the beauty of what you're seeing underwater on the dive with the actual location that topside observers can relate to.
Lens and Port Selection
Blending these two totally different environments is challenging, but also very rewarding. Mostly for these shots we use big domes. 8" diameter domes are preferable and super-wide lenses are as well.
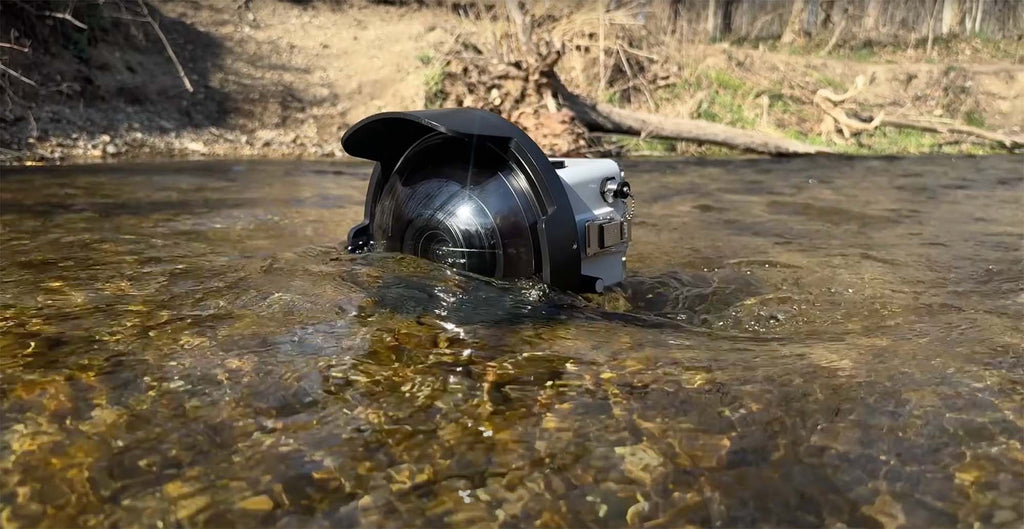
A large diameter dome will help to control your waterline and improve your depth of field.
This will do two things. One is it'll make you more able to control the water line that's dancing around the center of the dome. And it will also bring more elements from both the underwater and the topside section of your image or your scene into the frame that you're capturing.
Dealing with Dynamic Range
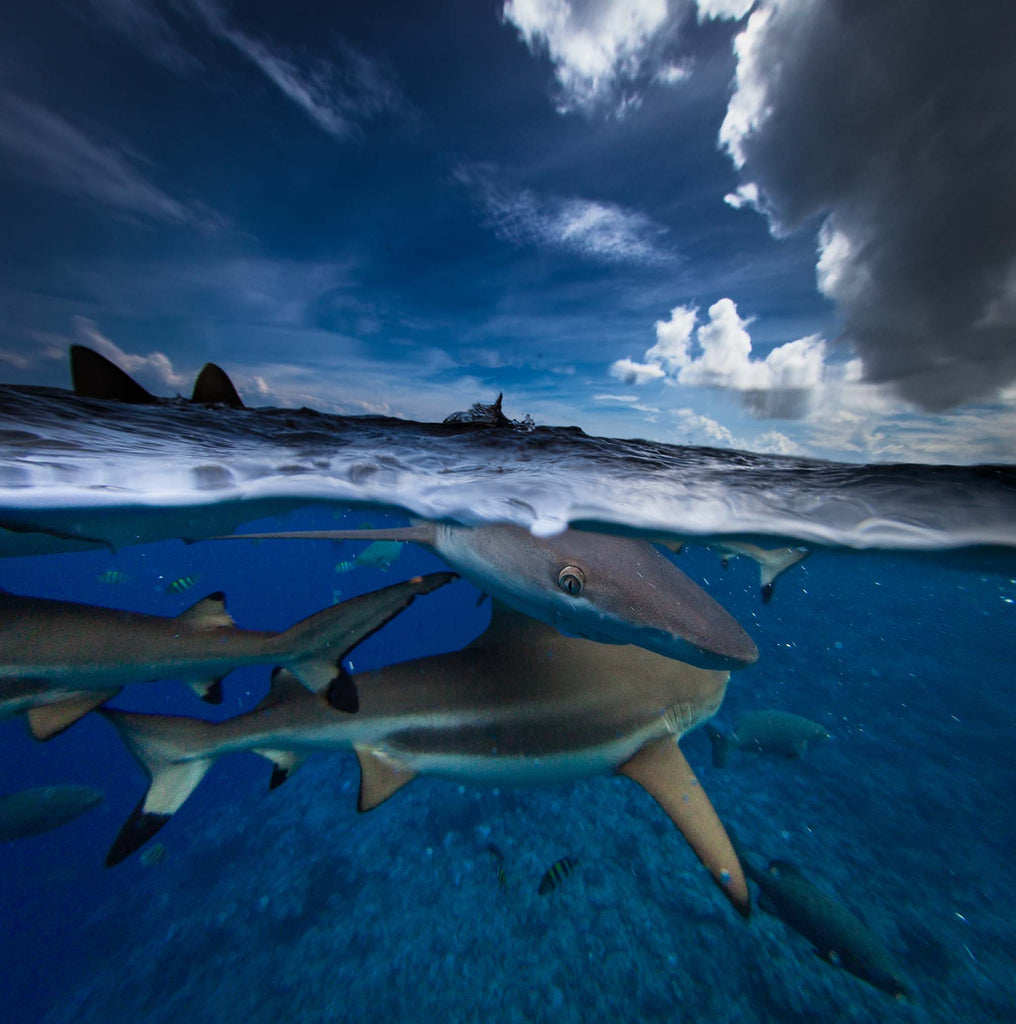
So one of the first challenges you'll find when you're shooting these kinds of images is that the tonal range is crazy. You've got a bright sun in the top of your frame and dark water below. There's going to be a range that's too wide for a lot of cameras to capture. So as a photographer, what you want to do is minimize this.
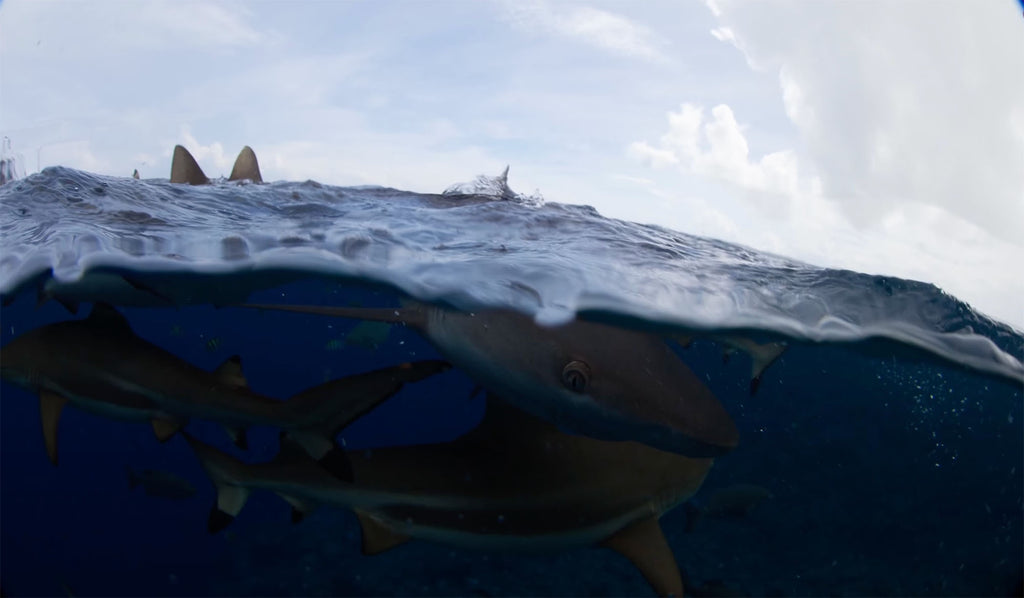
The wide dynamic range is one of the most challenging aspects of capturing a split shot. Shoot with the sun at your back and light the underwater subject with strobes to balance things out.
The first simple way to do this is to shoot with the sun at your back versus the sun in front of you. This is going to give you a smoother total range, especially if you have white sand to brighten up the lower section. And it's going to make it a more even exposure or easier for your camera to capture.
Split Shots at Sunset
Now, an exception to having the sun behind you are the famous Sunset Split shots. These are some of our favorites. This is a challenge because you're pointing the camera almost right into the setting sun. Your camera is going to want to stop you down to maybe f/20 and 1/1000 of a second. If you do that, the lower section of your frame is going to be very, very dark.
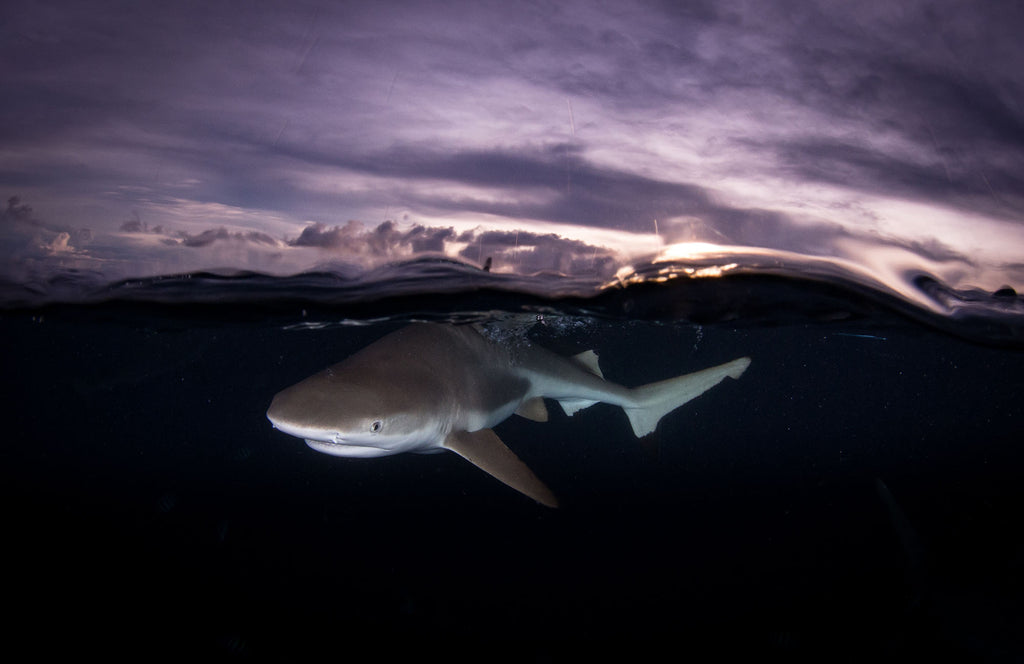
Always shoot RAW so that you can bring back details in the highest and lowest parts of the image's dynamic range.
The solution that most photographers rely on is two strobes that are submerged to light the lower (underwater) portion of the frame. The strobes will illuminate the underwater subject to the equivalent of the amount of light that you're reading from the sun. Sounds more complicated than it is. Expose the camera for the sunset. Then put your strobes on TTL and they'll light up whatever comes in close enough to be hit by the light.
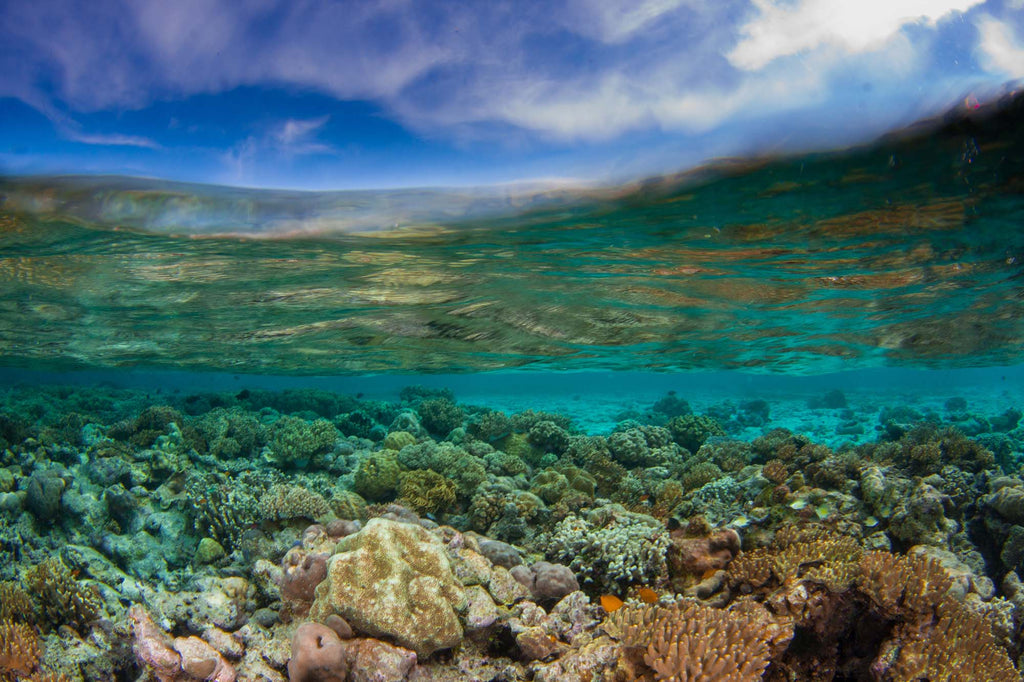
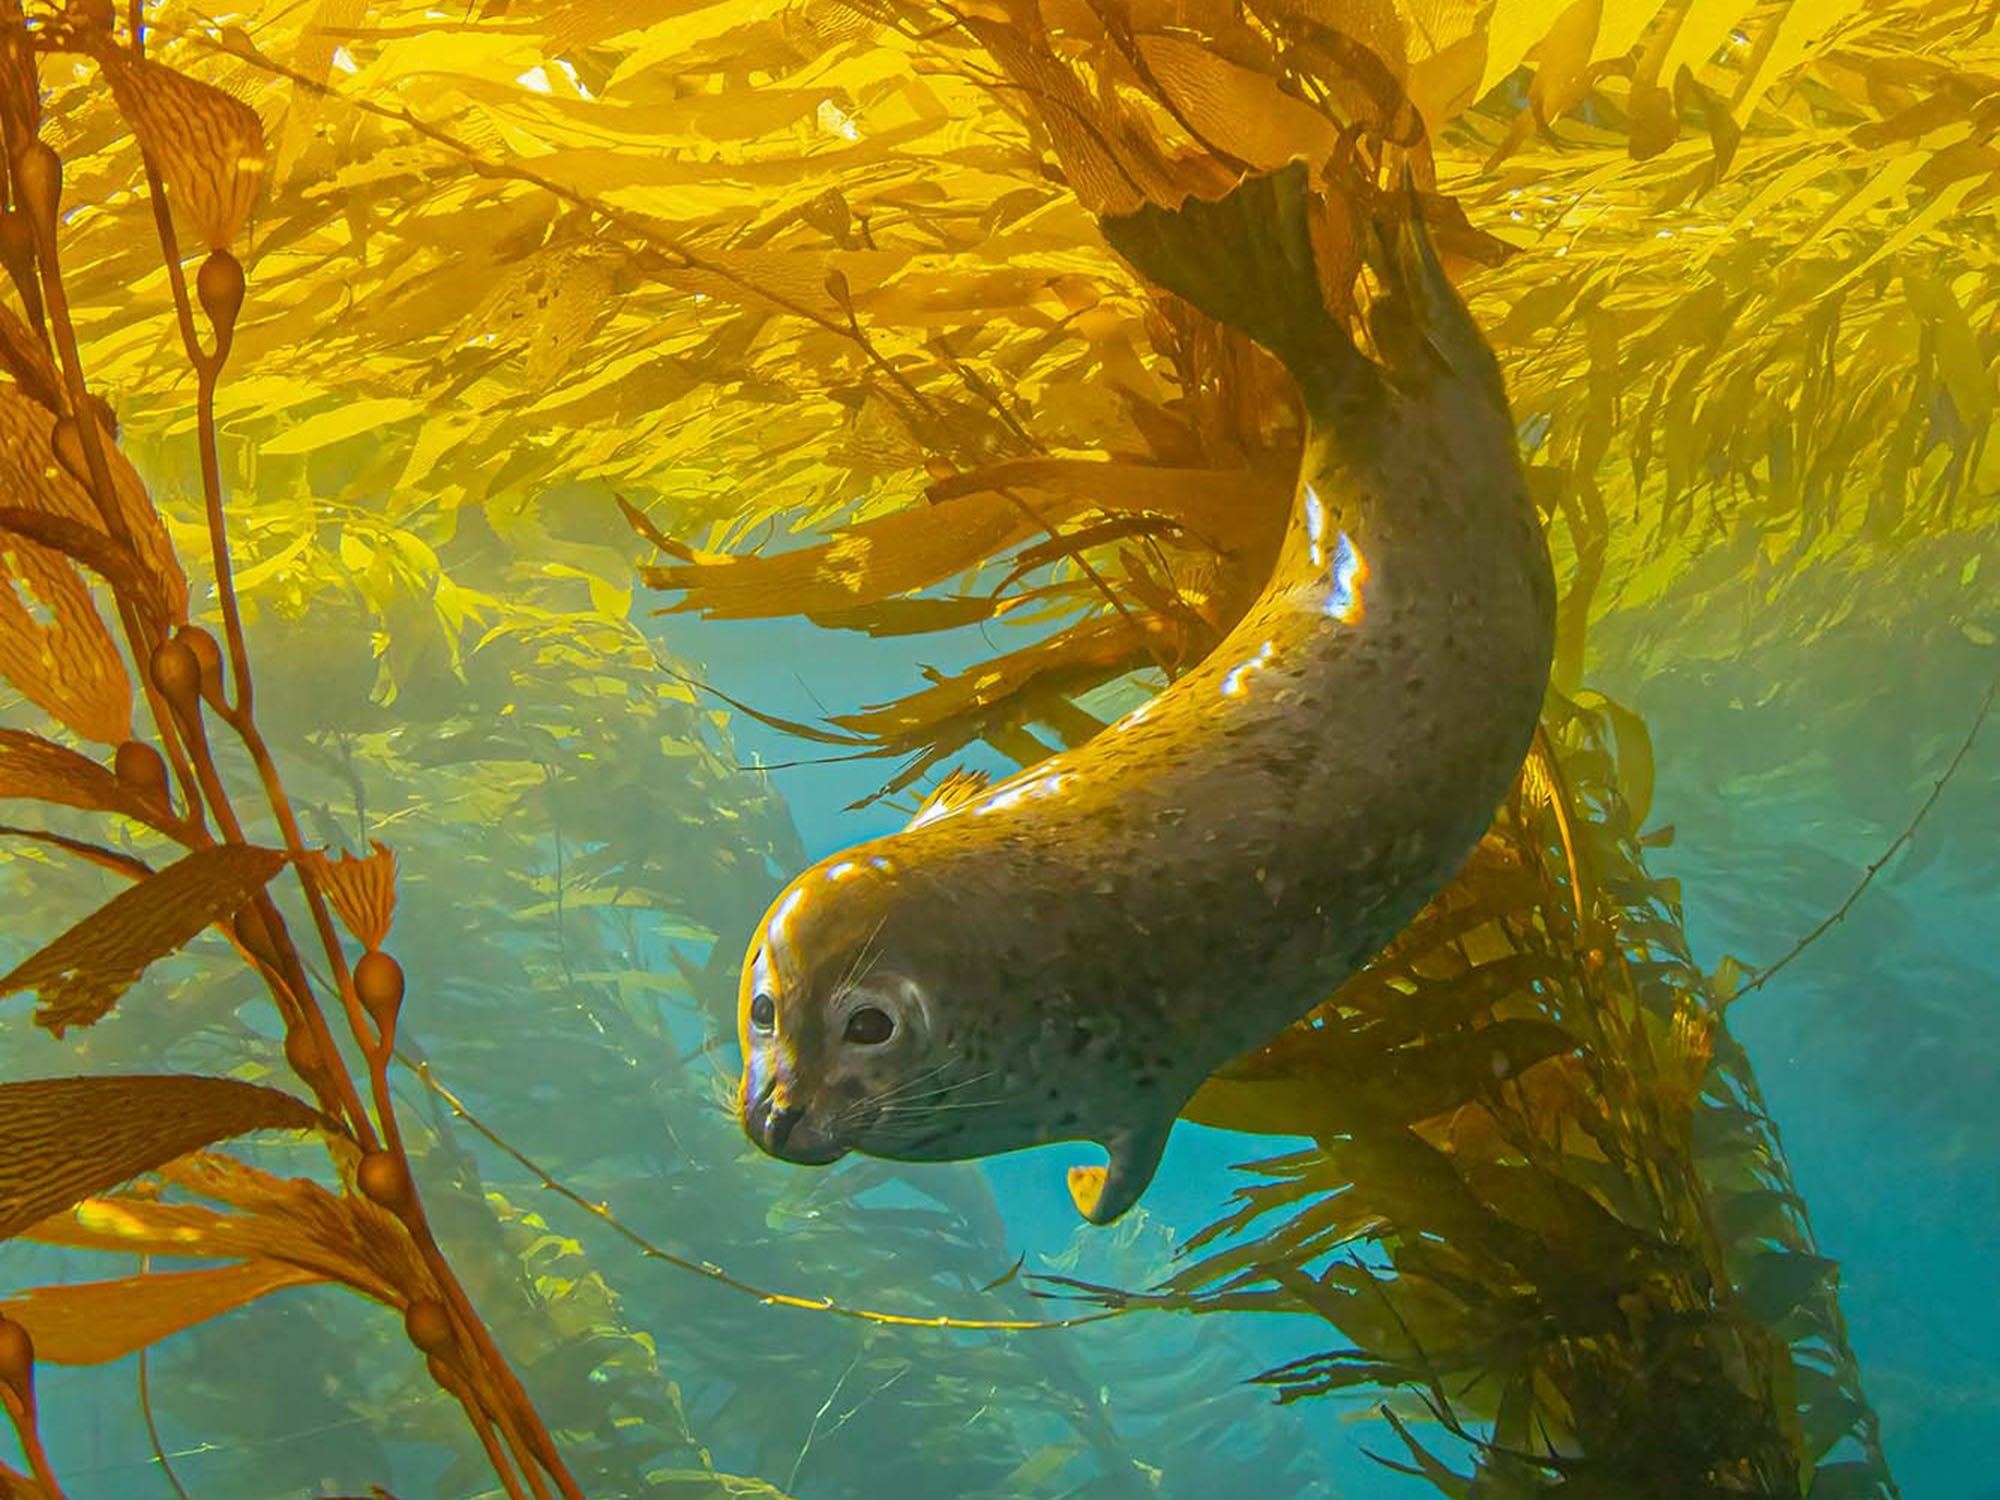
Depth
Another trick for getting better over-under images is to go into the shallows. If you can get into two, three, four feet of water with a bright overhead sun and hopefully maybe some sand or some bright corals to reflect that light back up. You're going to have a relatively uniform exposure from the top to the bottom. It's going to be easier to get image that is sharp all the way across and also the proper exposure.
Shutter Speeds
As a general rule of thumb, using a faster shutter speed, if you like, using flash even go up to a 1/500 or 1/600 of a second. If you're using flash, go to the max, which is probably 1/200 or 1/250. These faster shutter speeds are going to help freeze the water line across your dome.
A slower shutter speed will blur the waterline and make it melt into the sky.
On the other hand, feel free to experiment with some slower shutter speeds like a 1/60 or 1/30. Sometimes it'll make a nice, creamy, soft little bit of motion blur of the water line across the dome, which can be pretty visually pleasing.
Controlling the Waterline
Over-unders are a little bit easier to shoot when the sea is flat and calm, but there's always going to be some movement, whether it's from you or from wind or wave action. What you're generally going to try to do is get that water line right in the middle of your big dome because it's never going to be exactly there. Things are moving around.
Some tricks that you can do or sometimes to hold the housing out in front of you so that you're not even looking through the lens or at your preview screen. At this point, you're actually looking over top of the housing, trying to get that water line into the middle.
It can be difficult to keep the waterline in the middle of your dome. If you're shallow enough or are wearing a BCD, try looking down over the top of your housing to frame the image.
Another helpful thing is to shoot in burst shooting burst mode. You're going to find that the five or six shots that you have in succession, the water line is going to be here, here, here, there. So could be anywhere from the top third to the bottom third. So shoot it on burst and consider shooting over the top of your housing versus looking through it.
Dealing with Water Droplets
Without a doubt, one of the issues that you're going to have to deal with if you start shooting split shots is water droplets on the dome. And there are several fixes that will help. None of which are perfect. My favorite is to make sure that I have a very clean dome before I go on and on over a diver, a split shot dive. So what I'll use is the fine polish for the dome port. I find that when it's super clean that the water will shoot down more evenly as opposed to clinging in droplets.
There are other people who will spit on the lens just like you do on the inside of your mask. This can work. And I know people have rubbed their lenses with potatoes. I've actually never tried this, but I've told that can work too.

Polish, spit, and... potatoes? Are all common cures for reducing water droplets on the surface of your dome.
Another thing you can do is the quick dunk and shoot. And in other words, you look through the lens, you see all the droplets on the dome, dunk it into the water and then lift it and shoot. As you're lifting that way, the water is going to shear off evenly and not leave you with those individual droplets that are clinging.
But be sure you're going to have to fix water droplets in Lightroom or Photoshop after the capture. It's just part of shooting over-unders.
Split Shots in Post Production
One thing you should be prepared for with over-unders is that when you look through the view or at what you just shot, it's going to look really disappointing.
A split shot can look disappointing in the LCD screen but come alive later in Lightroom.
The tonal range that we're capturing is very wide here and it's not going to display well in your camera. So if you go out and try these for the first time, remember it's going to look like your sky is blown out and it looks like you're over under is black. But when you get in to edit your images, you can bring those darks back and you can turn those lights down.
So don't stop shooting just because what you're capturing in your screen isn't what you expected. If you have any specific questions, please send them to ikelite@ikelite.com.
Additional Viewing
Dealing with Droplets when Shooting Split Shots
Over-Under (Split Shots) Underwater Camera Settings
What's in My Gear Bag // Steve Miller 2023 [VIDEO]
Underwater Exposure Explained | Aperture Settings [VIDEO]
Fluorescence Photography to Enhance Your Night Dive [VIDEO]
 Ambassador Steve Miller has been a passionate teacher of underwater photography since 1980. In addition to creating aspirational photos as an ambassador, he leads the Ikelite Photo School, conducts equipment testing, contributes content and photography, represents us at dive shows and events, provides one-on-one photo advice to customers, and participates in product research and development. Steve also works as a Guest Experience Manager for the Wakatobi Dive Resort in Indonesia. In his "free" time he busies himself tweaking his very own Backyard Underwater Photo Studio which he's built for testing equipment and techniques. Read more...
![Split Shot Editing // Balancing Exposure Underwater and Above in the Lightroom [VIDEO]](http://www.ikelite.com/cdn/shop/articles/editing-split-shots-underwater-photography.jpg?v=1714086753&width=2000)