


![Sony RX100 VII VI // Underwater Housing Assembly [VIDEO]](http://www.ikelite.com/cdn/shop/articles/Sony_RX100_Assembly_copy_58d849b2-1f3b-4935-81e9-d8f828ab0d51.jpg?v=1738781332&width=1500)
By Jean Rydberg
The Sony RX100-series cameras have been long favorites of underwater shooters due to their compact size and manual exposure controls. Every camera in this series is capable of high quality underwater images and video.
In this video you'll learn how to set up the RX100 Mark VI or VII in the Ikelite Underwater Housing # 6116.18, plus add a handle and strobe system to enhance color and clarity in your underwater images.
The RX100 series has been really popular for underwater use because the camera is so capable and has a lot of the manual exposure settings that we look for when we're taking a camera underwater. We make one housing that works with both the RX100 VI and VII cameras. It does not work with the earlier cameras like the V, IV, III, which do require a different housing that is quite similar but different in key ways of control, placement and lens placement.
Installing the RX100 VII (or VI) Camera in the Housing
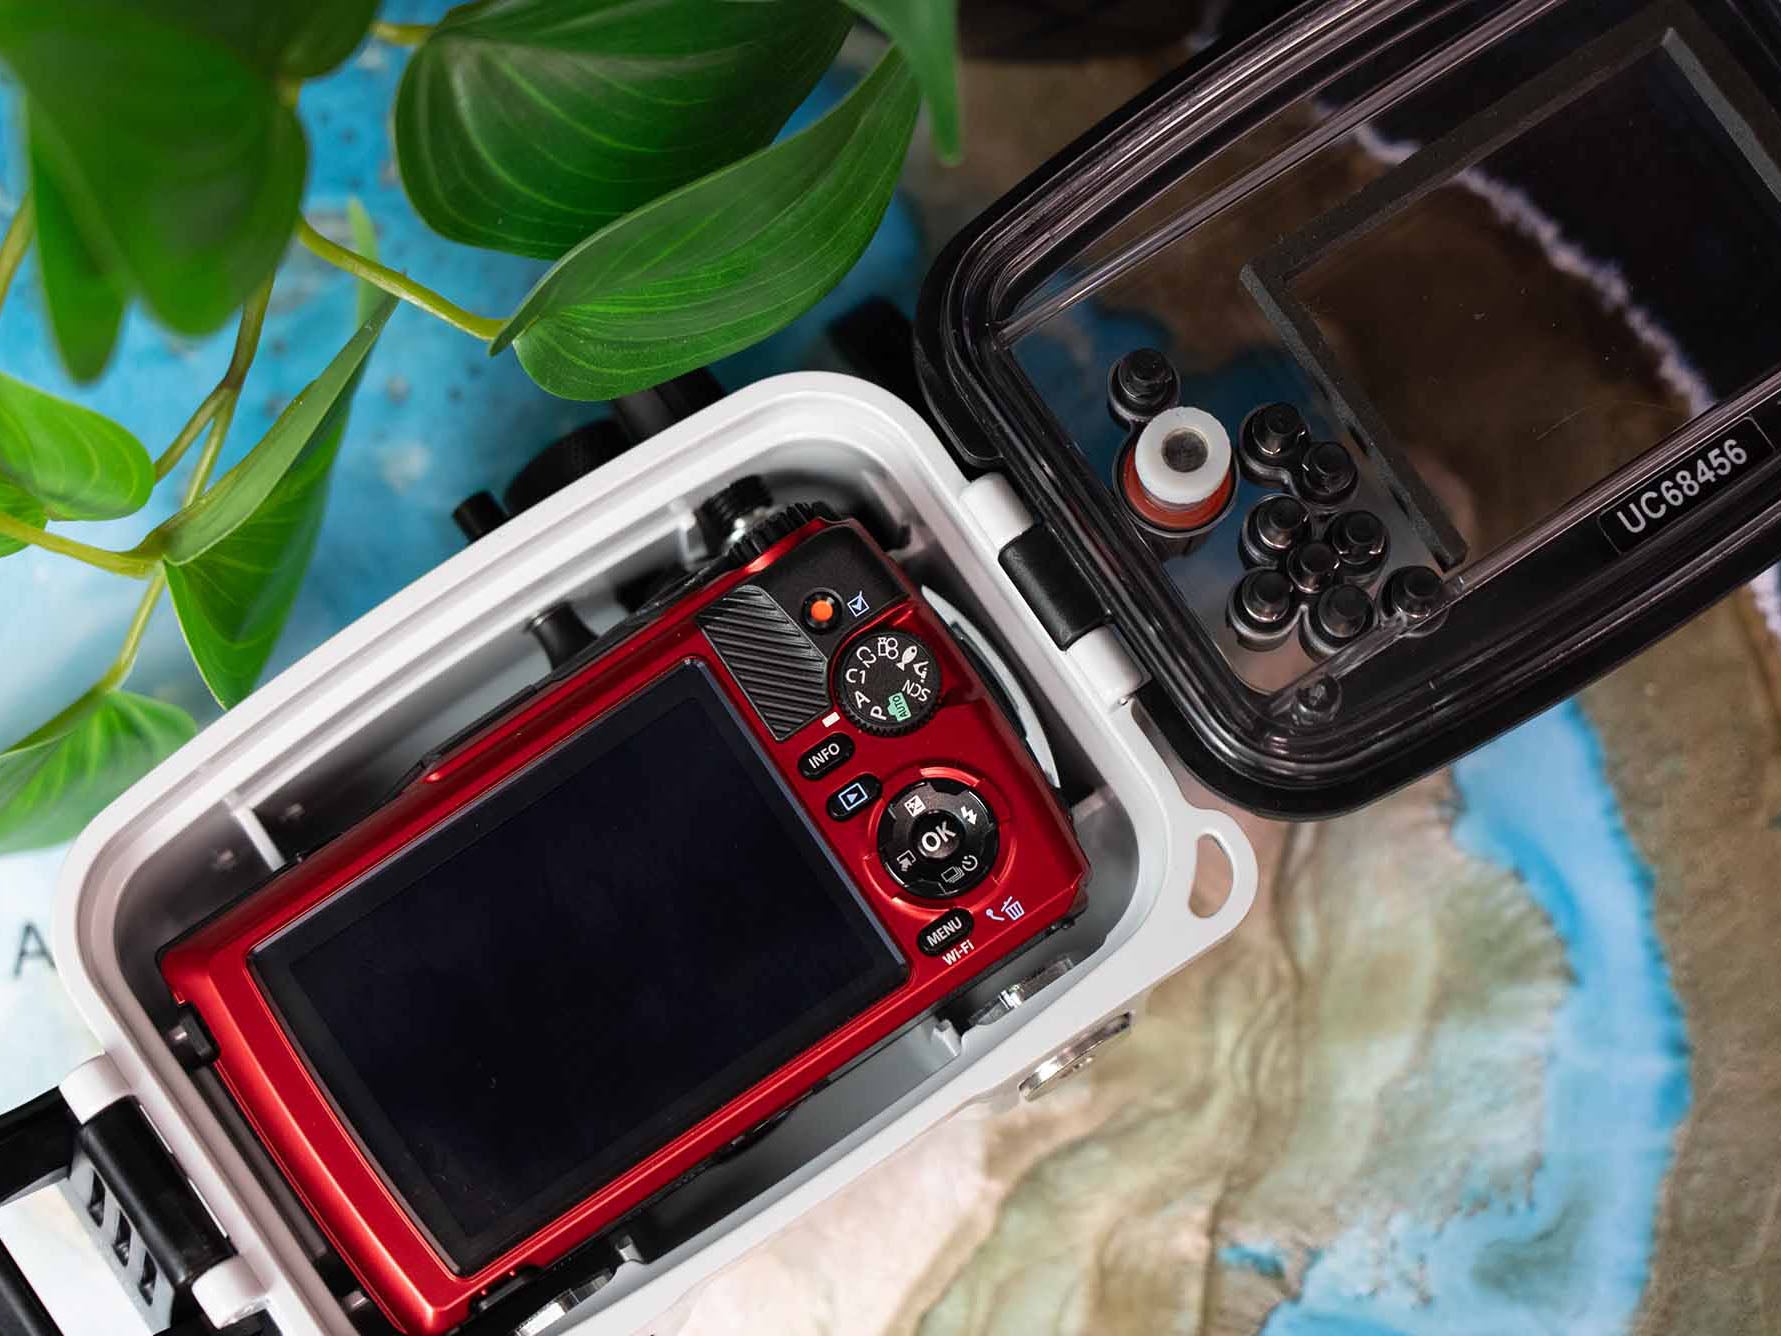
One of the key things that I love about the Ikelite housing is the fully clear back, which gives you a full view of the opening and your camera once it's inside of the housing, that makes it really easy to set up and it makes me really confident when I'm taking my camera underwater.
The camera housing has controls for all of the controls of the camera, so you're going to be able to use all of the buttons and controls at depth with the exception of the flash pop up button. So you're going to need to pop up the flash on the camera before you put it in the housing if you want to trigger an external flash once you have it set up. I'm going to just go ahead and do that right away before we get started.
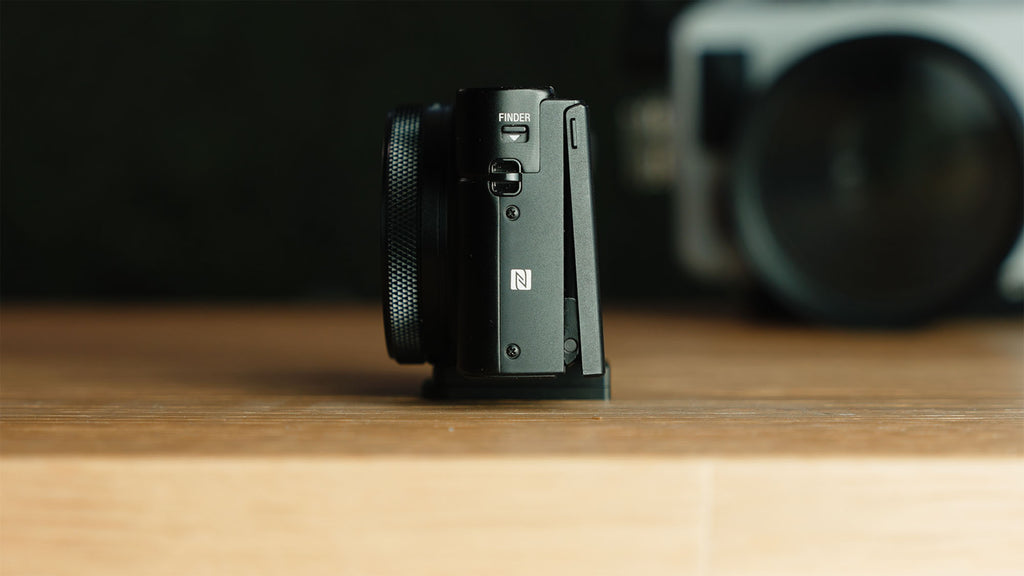
The lens port of the housing is a fixed flat port, which gives you full use of the camera's zoom range while you're underwater.
The housing features two locking lid snaps on the sides of the housing, they are very reliable and we've been using them for many, many years on our housings. I'm going to release those and take off the back of the housingand put it to the side.
Inside of the housing there is what we call a camera mount and this is going to attach to the bottom of your camera. There's a rail on the bottom of this mount that is going to actually fit in between the LCD screen of the camera and the main camera body. It's important to keep this in mind because if you were to try to attach it while it’s outside of the LCD screen, it's not going to fit on your camera.
Open the LCD slightly before you set the mount on and try to attach it.
Now, with any housing and camera that we're using, I want to tighten this camera mounting bold with a screwdriver. What that's going to do is make sure that the bolt is tight enough to keep the camera secure and not moving when I press any of the controls, or in some cases with other cameras, if I was to put a heavy lens onto it. I want to tighten that bolt with a screwdriver and make sure it's totally secure before I put the camera in the housing.
I have the camera ready to go into the housing, I have the flash popped up because I'm going to be adding an external flash and I have the mount attached to the bottom of the camera.
The mount does prevent you from opening the battery compartment of the camera as it is too close to allow the battery door to swing open, but you could use the port on the side of the camera to charge the camera through a cable while leaving the battery installed.
Now I have everything ready and I'm going to put the camera with the attached mount into the housing. It just slides right in and that flash is going to be touching the top inside of that housing.
Now, I want to check this o-ring sealing surface on the housing. I want to make sure that it's totally clean and doesn't have any dirt, hair, sand, or debris.
Then I'm going to take the back of the housing and it has an o-ring that's just floating around the inside perimeter of the back. This is super simple to maintain. You don't have to push the o-ring into a groove or anything like that. It just is lightly stretched around this perimeter and it keeps it in place.
I'm going to look and make sure that I don't have any of that dirt or hair or lint or sand on this o-ring before I assemble it. I am not going to put lubricant on this o-ring. It's not necessary on this compression seal, and it will probably actually just attract more dirt and more hair onto my o-ring. So I'm going to leave it off.
Now I'm going to set the back on to the housing front and then lift my two lid snaps and set them over the corresponding lid hooks and then just press them completely forward until they lock. Next I'm going to check the spring action and pull on the lid snap to make sure that it is locked and won't accidentally open on me at any point.
Optional Vacuum Valve to Test for Leaks
In this demonstration you I have an optional Vacuum Kit # 47012 installed on the side of this housing. If I wanted to, I could use a vacuum pump to check for leaks prior to entering the water.
To do this I would create a vacuum inside of the housing using the pump and then remove the pump and check it again later on before I'm ready to dive to make sure that that same pressure is existing inside of the housing. That is an option that you can add to your housing. The standard housing does not come with the vacuum valve installed.

This valve is installed quickly and easily by securing one nut on the inside of the housing.
Installing the Tray with Quick Release Handle
A tray and handle is going to make it a lot easier for me to hold on to and maneuver this housing while I'm on a boat or passing it to someone or just shooting it underwater. It's also going to give me an attachment point to add a strobe to the housing.
I have a single tray and a handle which we call the action tray, and I can attach that to the housing and if I want to, I can also add a secondary right handle to this tray if I want to use a double tray and handle. This assembly will show you just the single handle.

If you were using a double handle, you would also want to add an extension to the shutter trigger, which would put that closer to your hand when you're using a right handle.
I'm attaching this tray to the bottom of my housing with the handle on my left when I would be holding the housing so it's opposite this shutter trigger. I'm just going to use the hardware that comes with the handle and tighten everything with a screwdriver to make sure that that's very tight on the bottom of my housing.
Now I have everything ready and I could use everything set up this way if I was shooting shallow, at the surface, or snorkeling, just shooting it like 15 feet underwater.
Adding an Ikelite DS51 Strobe
If I'm diving deeper, I'm going to want to add a light so that I can bring out the color and clarity of my subjects, most commonly, the strobe that I shoot with our RX100 series cameras is our DS51 strobe.
The DS51 is our smallest and lightest strobe option and it's really good recycle time an angle of coverage for a camera like the RX100 series. To shoot it with the RX100, I do need to add the fiber optic adapter so that will convert the strobes electrical bulkhead into a fiber optic port so that I can plug a fiber optic cord into it.

For this set up I'm going to use the compact ball arm. I find that the compact ball arm is giving me enough flexibility and maneuverability of this strobe without being too bulky, and that is my preferred arm with this system.
To add that strobe to my system, I'm going to use the quick release feature on the handle to just slide that compact arm in and release the button to lock it. That makes it really easy at the end of a trip when I'm detaching these things and getting ready to pack, or even if I want to remove the strobe at some point on the boat or underwater for different lighting scenarios. Then I can just take my fiber optic cord, plug it into the housing, and I tend to wrap mine around the arm just a little bit to keep it out of the way. Not too tight because you don't want to stretch it or tangle it at all. Then I just plug it into the port on the fiber optic converter and then we're ready to go.
I like to check everything before I'm getting ready to go, so I'll put the camera in the fill flash mode and I'll turn my strobe on and I'll take a test shot. We suggest operating the other controls of the camera to make sure those are all working, confirm that my flash will fire and make sure that I have everything set up right so that I'm not going to run into any issues underwater. It also helps you make sure that your battery is charged, that your memory card is installed and has enough space to do video and photos, and just prevents frustration when you hit the water.
That's all there is to it! If you have any questions about assembling this system, or any other Ikelite products feel free to reach out to us via email at ikelite@ikelite.com. Happy shooting!
 Jean Rydberg, daughter of Ike Brigham, became President & CEO of Ikelite in 2006. Prior to that, she wisely pursued a degree in Astronomy & Astrophysics to prepare herself for the challenges of running a technology-driven manufacturing business with global distribution. Jean fully embraces the need to travel outside of her hometown of Indianapolis to experience good diving. She believes that any camera is capable of amazing results in the right hands, and anyone can become a great photographer given the right advice. When she's not working she's spending time with her husband, cats, and two daughters (though not necessarily in that order).
Additional Reading
DS51 Battery Compartment // The 3 Things You Need to Know [VIDEO]
How to Install a Trigger Extension on Your Ikelite Underwater Housing [VIDEO]
Sony Cyber-shot RX100 VI Underwater in 4K [VIDEO]
![Nikon 24-120mm Zoom Gear Installation // 200DL Underwater Housings [VIDEO]](http://www.ikelite.com/cdn/shop/articles/Nikon_24-120mm_Zoom_Gear_Cover_32004658-1b4a-486b-a1fe-978013d3c506.jpg?v=1760722175&width=1435)