


![Nikon ZR Setting It Up // 200DL Underwater Housing Assembly [VIDEO]](http://www.ikelite.com/cdn/shop/articles/ikelite-underwater-housing-nikon-zr-assembly-cover.jpg?v=1767976713&width=1500)
Featuring John Brigham
Nikon's first collaboration with RED, the ZR, is a powerhouse in features. Unlocking higher resolution and R3D RAW at the lowest price point ever. John Brigham walks through how to set up the Nikon ZR in an Ikelite 200DL Underwater Housing, and some useful custom buttons and settings to make shooting underwater easier.
Scroll down to read the article version of this video.
Equipment Used
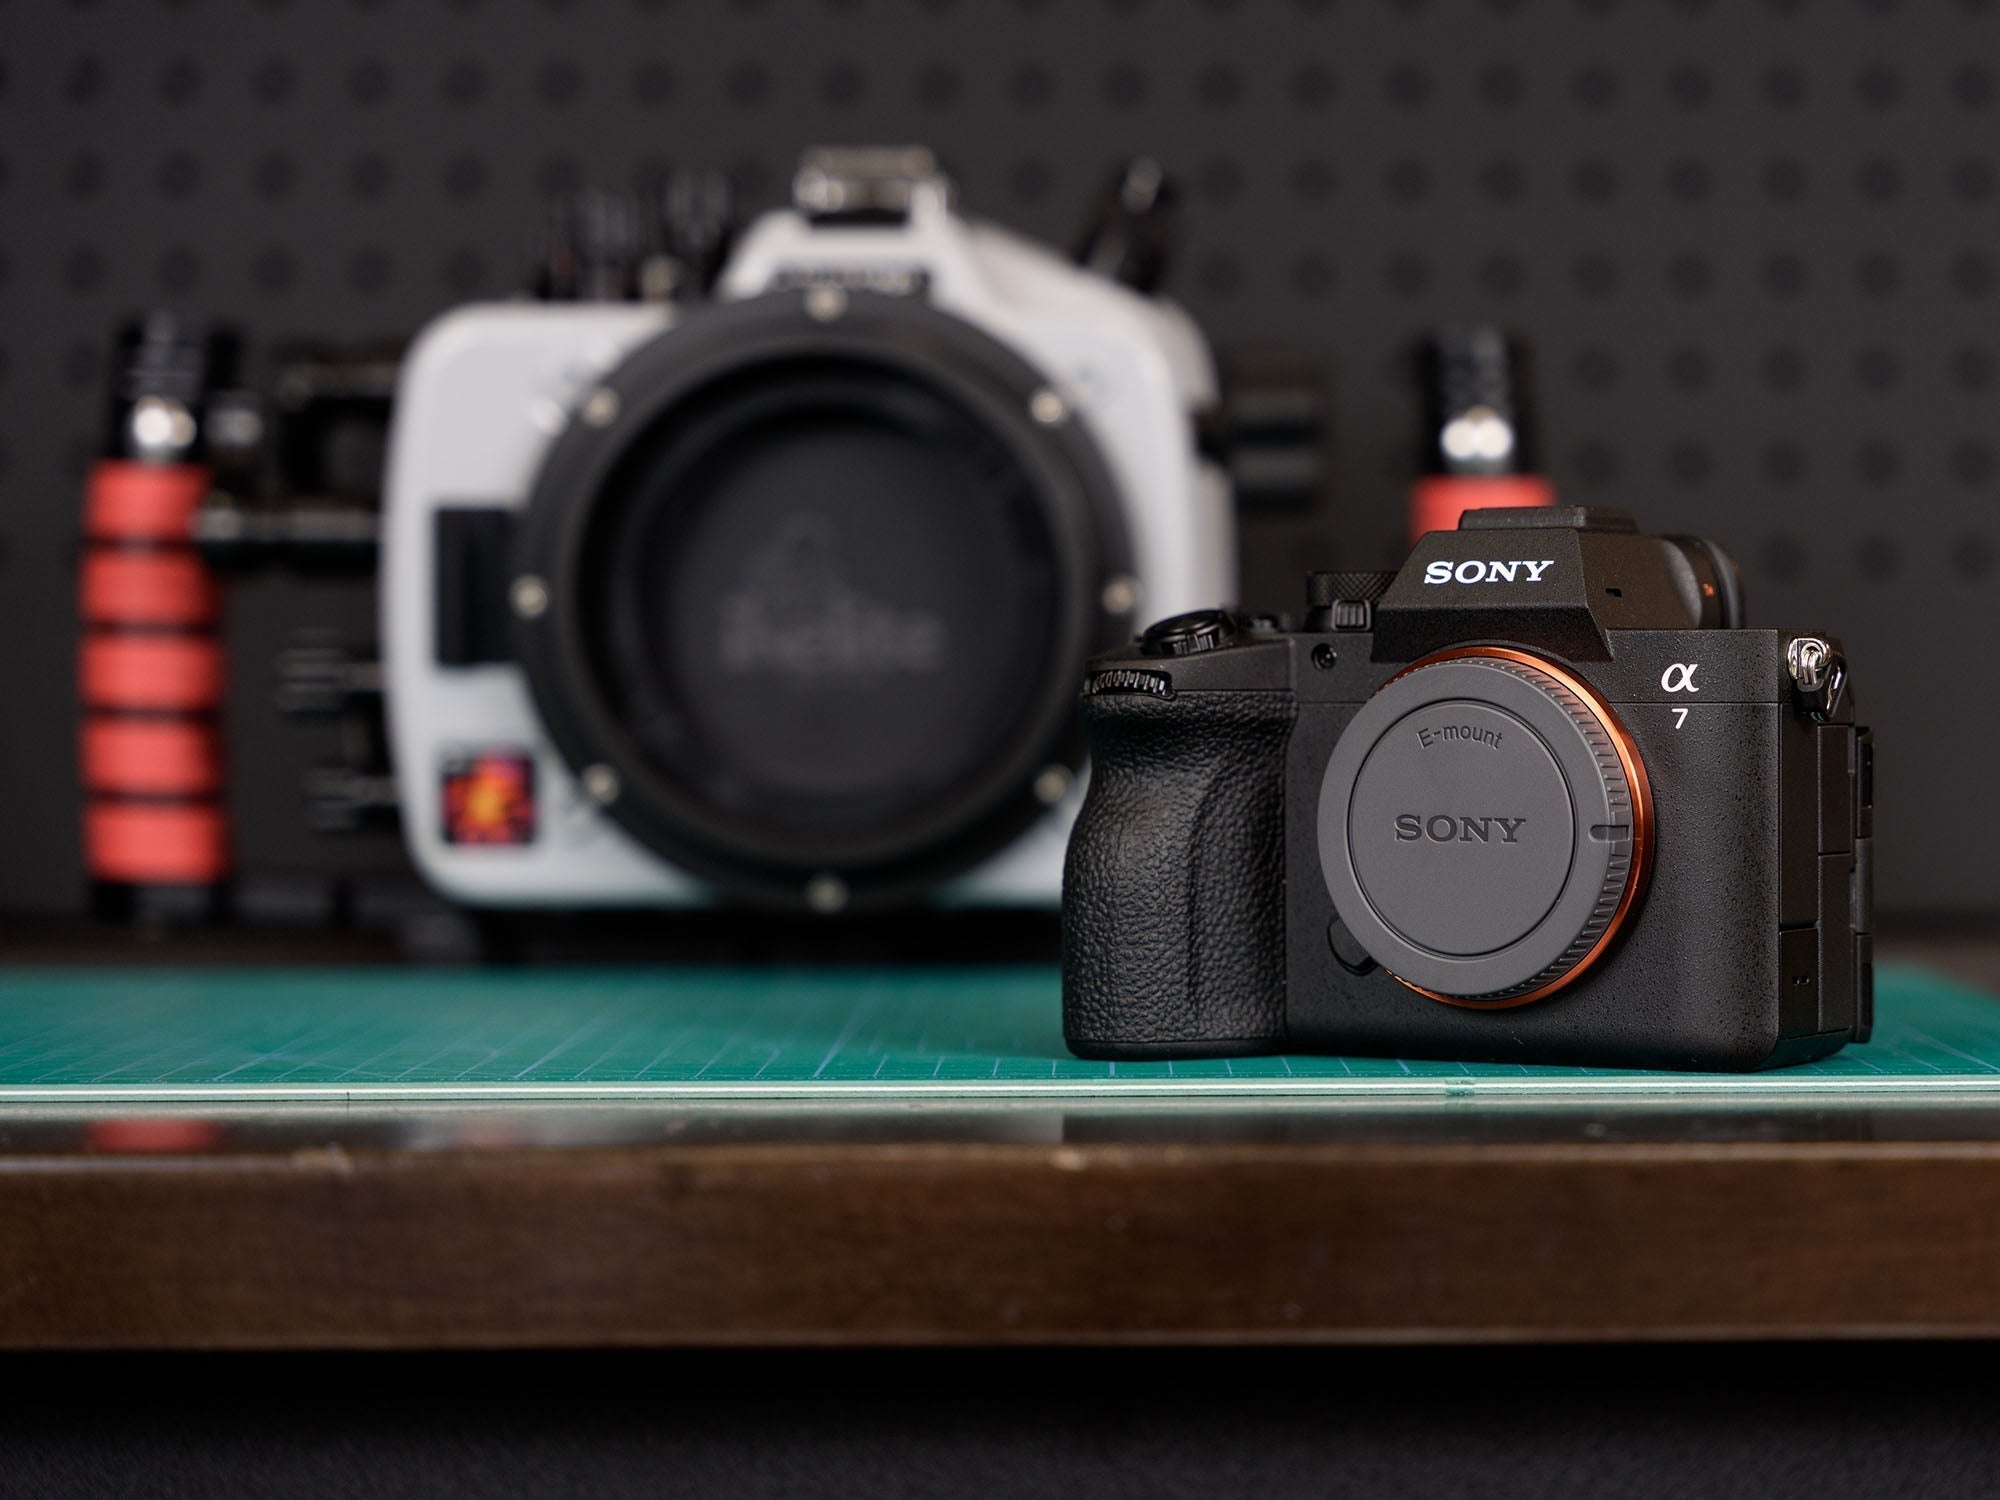
- Nikon ZR Ikelite 200DL Underwater Housing # 71077
- DL 8 inch Dome Port # 75340
- DL 50mm Port Extension # 75050
Nikon ZR Features
There's a lot to like about Nikon's new ZR, from the R3D RAW capability to the huge screen on the back, the ZR is packed with incredible technology for underwater videography. For a deep dive on these features, see Logan Wood's Nikon ZR Underwater Review and Results.

This system supports a wide range of lenses, check our Port Chart to find the right port system for your lens.
Custom Buttons & Settings
Before installing the camera in the housing we recommend adjusting some custom buttons and camera settings to make shooting underwater easier.
- Assign the FN1 button to something helpful, we have it set to autofocus.
- Make sure that the shift key is disengaged so you don't have to hold down a button in order to change the variable of the camera's dial.
- Reverse the dial. We find it is more natural when you turn the dial in the back of the housing so that it goes up and down, respectively.
- Customize the i-Menu to best suit your needs. See our Nikon Custom Settings for Underwater Photography for useful recommendations.
Installing the Nikon ZR in the Underwater Housing
Place the housing face down (we recommend using an Equipment Assembly Mat) and release the locking levers of the three lid snaps and pull the clear back off the housing and set it to the side.
Remove the internal camera mount from the housing and install the 1/4-20 screw into your cameras tripod mount using a flathead screwdriver. Ensure this is snug, as any movement between the camera mount and camera can result in a misalignment of controls.
Before installing the camera into the housing ensure there are no controls in the way, check to see that your lens release control is oriented properly, and plug the USB-C cord into the side of your camera. Now we can slide the mounted camera into the housing. Slide the mount into the the camera base on the inside of the housing and push forward.
Take a moment to check sealing surfaces are clean and free of debris. Check that the o-ring is clean and free of debris. No lubricant is required for the compression seal o-ring on the back of your housing.
Take the clear back and align it with the front of the housing. Simultaneously apply both locking lid snaps on the sides of your housing then engage the top locking lid snap. Take the opportunity to make sure they're all properly locked.

Our clear back allows you to see the camera and the o-ring and gives you a real time view of what's happening inside your housing.
Attaching a Dome Port
For this demonstration we're installing the Nikon NIKKOR Z 14-30mm lens with the DL 8 inch Dome Port and DL 50mm Port Extension.
Attach the 50mm Port Extension to the DL 8 inch Dome Port using the instructions provided with your port system, or watch this Nikon Z 14-30mm with 200DL Underwater Housing installation guide for more details.
Using the provided zoom retainer ring tool, unscrew the gear sleeve retaining ring and take out the protective port cap and keep with your spare parts.
Loosen the three thumbscrews on the port extension so that they're not protruding into the inside diameter. Take a small amount of the provided Ikelite lubricant and run it across the o-ring on the port base of the housing and along the sealing surface vertical wall of the extension, use this opportunity to check that the sealing surfaces and o-ring are clean and free of debris.
Note that only one of the shades on the dome port will correspond with the thumbscrews located on the dome port and port extension. When installing the dome port and extension onto the housing, orient the dome port so that this shade will be at the top, or noon, of your housing.
Ensure the thumbscrews on the extension are aligned with the pockets on the housing port mount, then press the dome port and port extension down onto the housing using firm pressure until it's sealed all the way around the circumference and tighten the three thumbscrews on the extension into the pockets of the housing port mount.

Note the thumbscrews on the dome port and port extension(s) will align with one of the shades on the dome port. These will be oriented to the top, or noon, of the housing.
Housing Controls
The 4 directional buttons (up, down, left, right) will actuate the ZR's joystick and the center button pushes it in. These directional buttons will be inverted when using the housing. This is easy to quickly adapt to but it is important to note they will behave differently than they do above the water.
Next, do final checks. Check for functionality of all your controls. Take a picture/record a short video to test for functionality. Ensure you have a memory card installed and a full battery.
Vacuum Leak Detection
The last step is to create a vacuum on the system to check for leaks and to reinforce all the closing mechanisms on your housing.
Push the button on vacuum valve located on the side of the housing to release the valve cap and pull it out of place. This cap is tethered so you don't lose it and to remind you that it needs to be replaced as soon as you're done using the vacuum system. Never take your housing underwater without this vacuum valve cap properly installed.
Insert the barb on the end of the vacuum hose into the vacuum valve on the housing, it will click into place. Then, use the hand pump to create a vacuum. Vacuum your housing until you see the needle on the gauge hit 10 or 15. The number you land on isn't nearly as important as the fact that the needle isn't falling. Once you hit your target number, in this demonstration 15, take an opportunity to observe the needle and make sure it's not dropping. If the needle is holding appropriately, then remove the vacuum hose and reinsert the valve cap and let the housing sit. Ideally let the housing sit overnight, but even 15-20 minutes will work. Then, reinsert the vacuum system and check that the needle on the gauge reads 15 again and there is no pressure differential.

We always recommend pulling a vacuum on your housing. See Using a Vacuum Pump to Check for Leaks on Your Underwater Housing for a deep dive on the vacuum leak detection system.
Note that once you've created a vacuum on your housing, if you're using the USB-C Data Transfer and Charging Bulkhead and leave the bulkhead cap removed air will slowly enter and will diminish the vacuum on your housing. So, if you use the USB-C port to charge your camera or offload photos between dives, you'll need to re-pump the vacuum to re-establish the vacuum on your housing.
If you have any questions about this system or installation, contact our team today.
Additional Viewing
Nikon ZR Underwater Review // 200DL Underwater Housing [VIDEO]
Nikon ZR Sample Footage Tiger Beach // 200DL Underwater Housing [VIDEO]
Nikon Custom Settings for Underwater Photography // Ikelite 200DL Housing [VIDEO]
Top 3 Best Lenses for Nikon Full Frame Mirrorless Underwater [VIDEO]
Nikon Z 14-30mm f/4 S Lens Review for Underwater Photography & Video [VIDEO]
 John Brigham is the Vice President & head of product development at Ikelite. He was born with a flair for design and an entrepreneurial spirit as son of Ikelite founder Ike Brigham. He worked his way up in the business and is a natural fit in the R&D side of things. John dives the equipment as much as possible to test product and put himself in the "fins" of the user. You may also find him on the other end of an email or phone call when you reach out for product advice and support. When he's not underwater he's flying drones, setting off rockets, training his German Shepherd "T2", and spending time with his family.