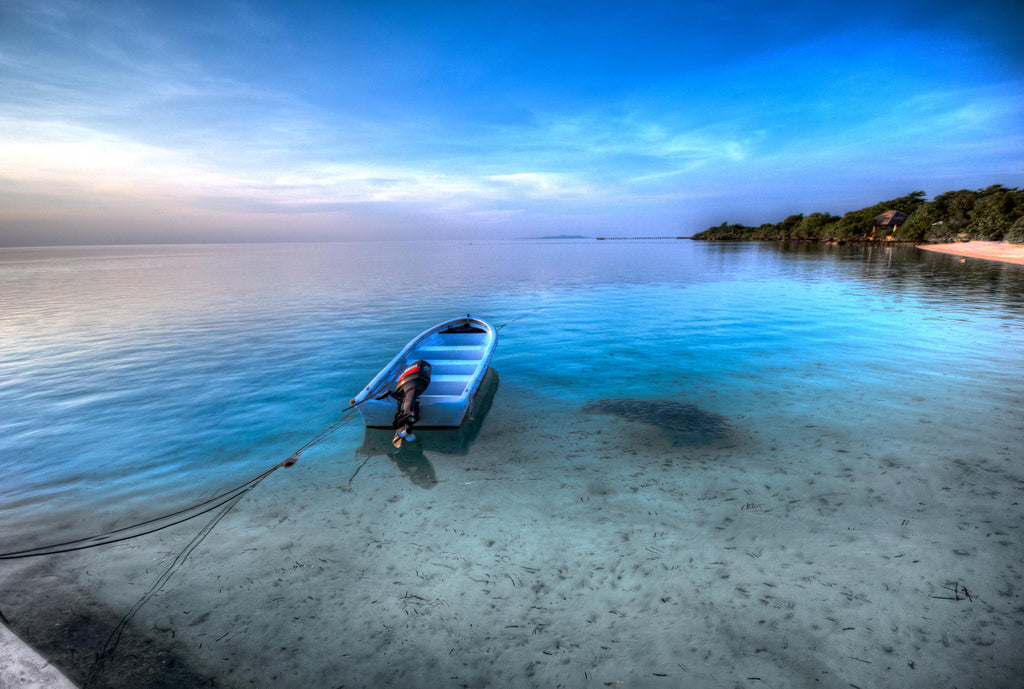
Many of our favorite dive destinations also have amazing topside scenery. Sunrise and sunset are a good bet for capturing the beauty of the sky, or a scenic beach because of the light at these times of day. Cameras (and your eye) can struggle to take in scenes with a wide range of brightness or tones. HDR will extend the tonal range that your camera can capture by blending dark and light versions of the same image into a single frame. Some cameras (and phones) will have a setting for this. If not, you can blend them yourself pretty easily in Lightroom, Photoshop, or many programs, like Photomatix, that are made for this.

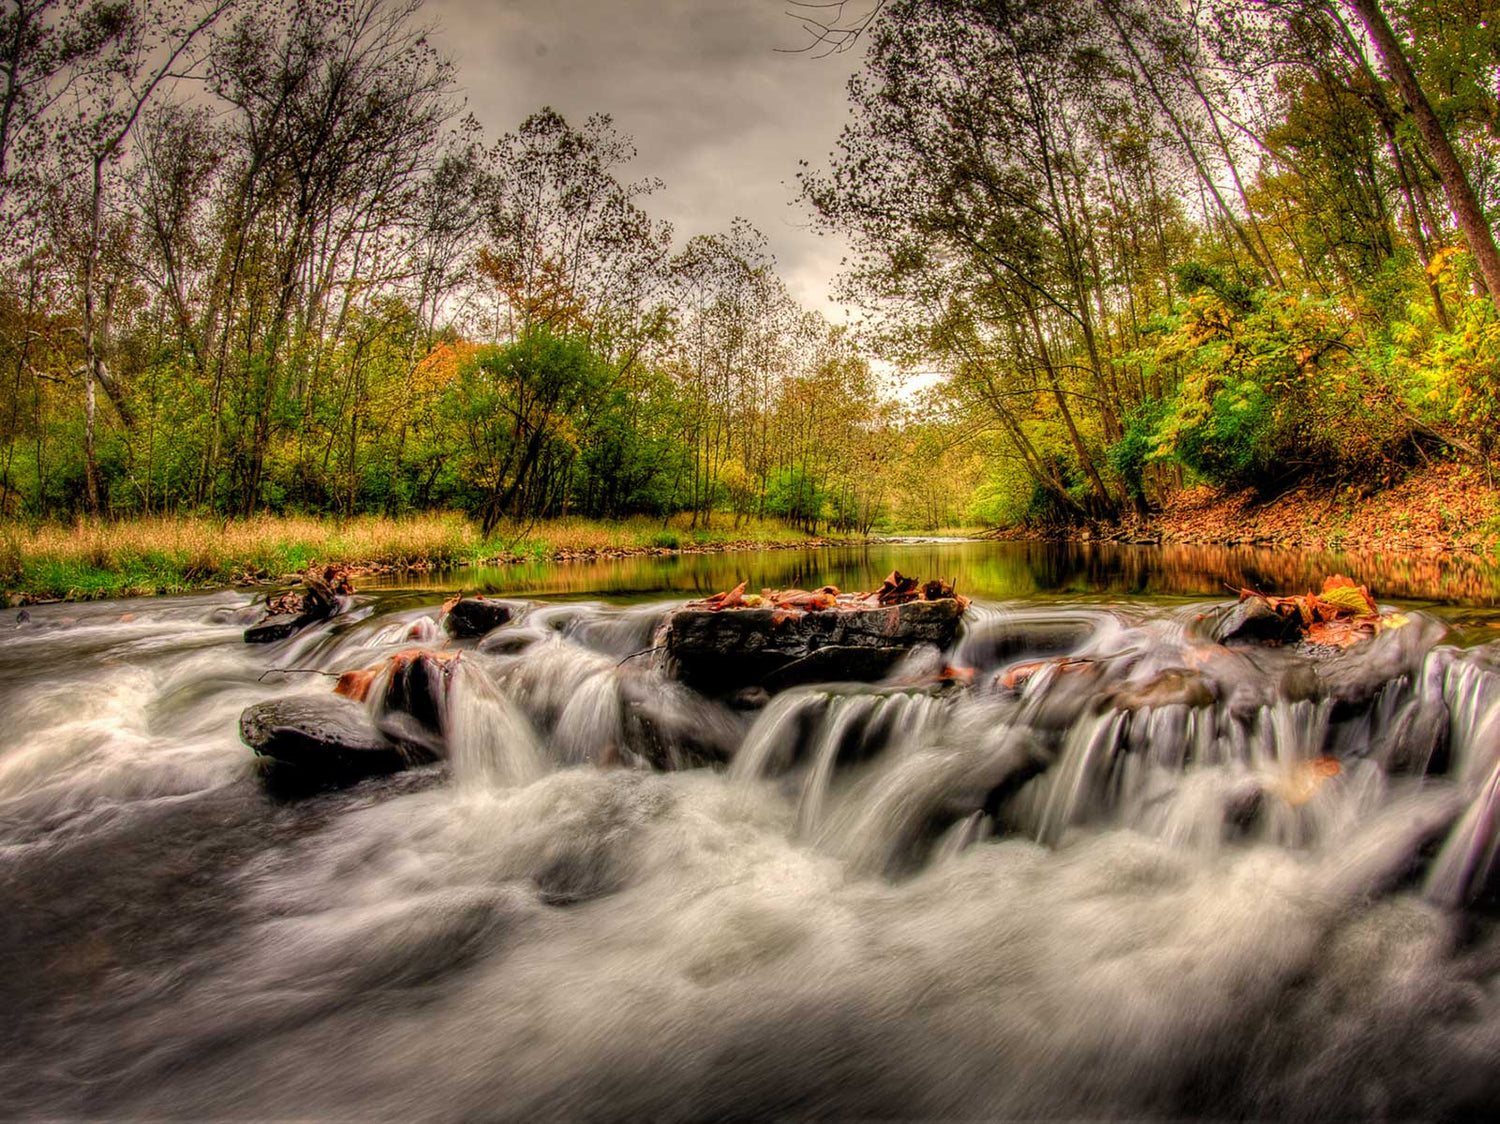
"Ghosting" in HDR photography is the blurry effect produced when combining multiple images that have moving objects (like the water in the waterfall from the leading image of this article). Clouds don't usually move fast enough to "ghost" and sometimes look pleasing with a small amount of blur if they do. © 2022 Steve Miller
Where
Anywhere there is either water, sky, or both.
DSLR + Mirrorless
ISO: 200-400. Any ISO that suits the brightness of the day will work here, if you are using a tripod you may as well keep it very low. If you are trying to hand hold and burst shoot with exposure bracketing, make sure your ISO is high enough to give you a fast shutter speed. The camera is going to try and take three images in rapid succession, so hold very still.
Mode: Manual. Preferably with a tripod. You will need to intentionally underexpose and overexpose images to blend with the "proper" exposure. If your camera doesn't shoot manual, try using Exposure Compensation to make a dark and a light version.
Aperture: F-11 to F-16. Stopping down the lens will give you the best depth of field through your frame.
Shutter Speed: 1/125-1/160.
Lens: 8mm to 100mm. Any lens will work for HDR. For sunsets, a wide angle zoom in the 15-35mm range are used mostly.

HDR photography offers a ton of possibilities. It can help you widen your dynamic range within a photograph, or it can help set a mood. © 2022 Steve Miller
Point + Shoot
ISO: 100 to 200
Mode: Manual or HDR (if equipped). If your camera doesn't shoot Manual, use Exposure Compensation - this will require a tripod.
Aperture: F-8 will give you depth of field wanted for a wide angle scene.
Shutter Speed: 1/125 to 1/200.
Lens: Typically you will want to zoom out to the widest setting on your lens.

Cameras or phones that have an HDR setting will often allow you to create an HDR image from one photograph instead of multiple. HDR from a single frame means no "ghosting" in your images. © 2022 Steve Miller
Technique
Ideally, use a tripod and take five or six images that are all one stop different from each other by opening or closing the aperture. Then blend them with a few clicks in Lightroom. If your camera will shoot a burst of images while bracketing the exposure then you can try this hand held, but anything moving in your image may create a "ghost" image - these can actually look cool as they imply motion.
Pro-tip
Todays cameras have such a wide tonal range that you can make your "darks and lights" from an original single image. If you use Exposure Bracketing, the camera may offer 1/3 or 1/2 stop increments for your exposure. If the menu allows, change this to at least a whole stop. Otherwise, the difference is unremarkable from frame to frame, and your HDR is less dramatic.

There's a subtle ghosting effect in this image, but it creates an atmospheric feel. © 2022 Steve Miller
Ready to learn more?
Check out our deep dive article on HDR photography: Expand Your Tonal Range with HDR Photography.
Want the easy way to improve your underwater photography? Sign up for our weekly newsletter for articles and videos directly in your inbox every Friday:
Additional Reading
Setting the Tone: Color Grading for Underwater Photography
How to Change a Background in Adobe Express [VIDEO]
Underwater Photo Editing: Trash to Treasure Using Lightroom [VIDEO]


