


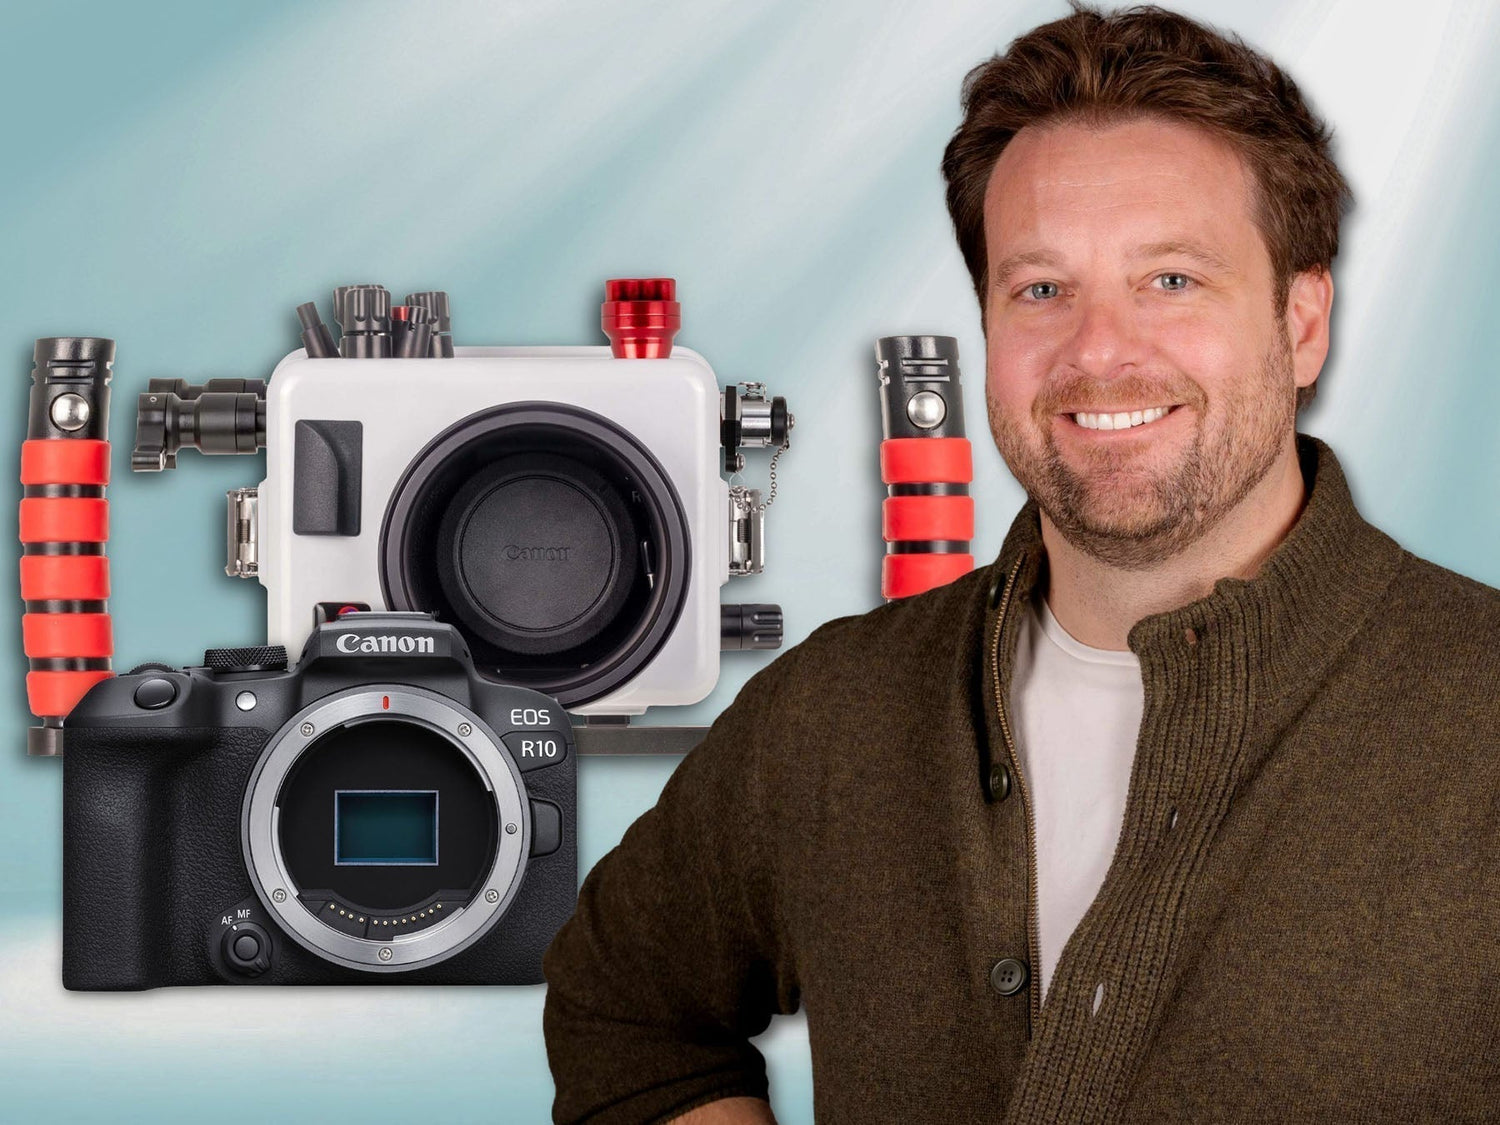
Featuring John Brigham
The Canon R10 with the 18-150mm lens is one of the best and most versatile compact system cameras you can shoot underwater today, and we're extremely excited to be offering it with a new integrated fiber-optic system. John Brigham walks through setting up the camera in the housing and preparing it for a dive.
If you'd prefer to read the article version of this video, scroll down.
Equipment Used
- 200DLM/D Underwater Housing, Canon EOS R10, and 18-150mm Lens Kit [Fiber Optic Update] # 69745 [+ camera]
Preparing the Canon RF-S 18-150mm Lens
The first thing to prepare is the Canon RF-S 18-150mm lens. This lens has some faint lettering which could cause reflections in a dome port and impact your image, but an Anti-Reflection Ring will remediate this. Remove the ring from the paper backing and apply it to the circumference of the lens ensuring all the lettering is covered.
Next, thread a diopter onto the end of your lens and then bayonet the lens onto the Canon R10 camera body.

You only need to apply the Anti-Reflection Ring once, so take your time and make sure it is evenly applied and covering all of the lettering.
Powering the Fiber Optic Transmitter
Before installing the camera in the housing, we'll need to set up the Fiber Optic Transmitter. To do that, open the back of the housing by unlock the lid snaps so you can access the Fiber Optic Transmitter battery compartment. Remove the Fiber Optic Transmitter battery compartment from the ceiling on the inside of the housing. Install two (2) CR2032 batteries into the Fiber Optic Transmitter battery compartment. Polarity is important here. Lift the lid on the battery compartment. On the side with the wires and switch, put one of the CR2032 batteries positive (+) side up, put the other battery negative (-) side up. Then close the battery compartment lid and turn the battery compartment switch into the ON position. Then, put the battery compartment back into the housing's press-fit cradle on the ceiling of the housing.

Polarity is important when installing your CR2032 batteries in the Fiber Optic Transmitter battery compartment. Ensure the battery closest to the wires and ON/OFF switch of the compartment has the positive (+) side facing up, the other battery should be flipped and have the negative (-) facing up.
Installing the Canon R10 in the Underwater Housing
The 200DLM/D Underwater Housing, Canon EOS R10, and 18-150mm Lens Kit [Fiber Optic Update] will come fully assembled. The Fiber Optic Transmitter is on top, the port (with port cover) and gear sleeves are pre-installed.
Remove the camera mount from the base on the inside of the housing and attach it to the tripod mount on the bottom of the camera. Use a flathead screwdriver to ensure the camera mount is snug to the camera, as any misalignment between the mount and camera could result in a misalignment of the controls.
Install the hotshoe onto the top of your camera, pushing it fully forward so it fully engages with the camera's contacts.
Double check that you camera has a full battery and an operational SD card. Next, install the camera in the housing. Slide the camera with attached mount into the base on the inside the housing, making sure the hotshoe wire and any controls are out of the way. The pre-installed gear sleeve is friction-fit so you will notice a bit of friction when sliding the camera into the housing, just slowly slide the camera until the mount is fully engaged with the base on the inside of the housing. Then, realign all of your controls: rock your AF-On control back down, check your lever switch and hub controls.

The 200DLM/D Underwater Housing, Canon EOS R10, and 18-150mm Lens Kit [Fiber Optic Update] will come with the port (with port cover), gear sleeve, and handles and tray pre-installed.
Before reinstalling the back of the housing, check the sealing surface and o-ring are clean and free of debris. This is a compression seal, so there's no need to add lubricant to this o-ring. Then, realign the back of the housing to the front and secure the locking lid snaps simultaneously. Double check that the lid snaps are fully locked.
Re-check that all of your controls and zoom gear are functioning properly. Take a test picture with the camera. Check that both LEDs on the top of the Fiber Optic Transmitter are pulsing red.
Vacuum Leak Detection
The last step is pulling a vacuum on your housing.
Push the button on the side of your vacuum valve to release the valve cap. Insert the barb at the end of your vacuum hose into the valve, you will hear it click into place. Then, pump the hand pump to create a vacuum.
Select a number to pump to, it could be 10 or 15, the number you choose is not important, it is just a reference point. What is important is to make sure that the needle on your vacuum pump isn't dropping. If the needle is dropping after you stop pumping, or upon re-checking your housing, that means you have a compromised seal that you need to investigate. If the needle holds then remove the barbed end of the vacuum hose and re-cap the valve and let your housing sit, ideally overnight, but for at least 20 minutes. After letting it sit, reinsert the barbed end of the vacuum hose to test that the vacuum is holding. The needle should jump back to the number you initially pumped to (there may be a slight differential due to any air left in the hose). If it does not, you will need to do an investigation.

We recommend diving with your housing under a vacuum, as this will reinforce all the closing mechanisms on your housing.
You will want to dive with your housing under a vacuum, as this vacuum helps reinforce all of the closing mechanisms on your housing. When you're ready to open your housing, you'll need to release this vacuum. You can either insert the vacuum hose and halfway press the vacuum release button located on the hand pump. Or, you can use a ballpoint pen to depress the button located on the inside of the vacuum valve on the housing.
Now your 200DLM/D Underwater Housing for the Canon R10 is ready to dive. At this point, we recommend adding strobes to help bring out color and contrast to your underwater photos.
If you have any questions about this set up process, want recommendations on the best strobes for your Canon R10 system, or just need some photo advice, our team is available to help.
Additional Viewing
The Best Lenses for Canon APS-C Cameras Underwater RIGHT NOW! [VIDEO]
Canon EOS R10 Underwater in La Paz Mexico / Bahamas / Florida [VIDEO]
Canon R10 vs R7 // Best Crop Sensor for Underwater Photography [VIDEO]
One Dive, One Lens // Canon RF-S 18-150mm Lens Review for Underwater [VIDEO]
Canon RF-S 18-150mm f/3.5-6.3 IS STM Lens Micro-Review & Results
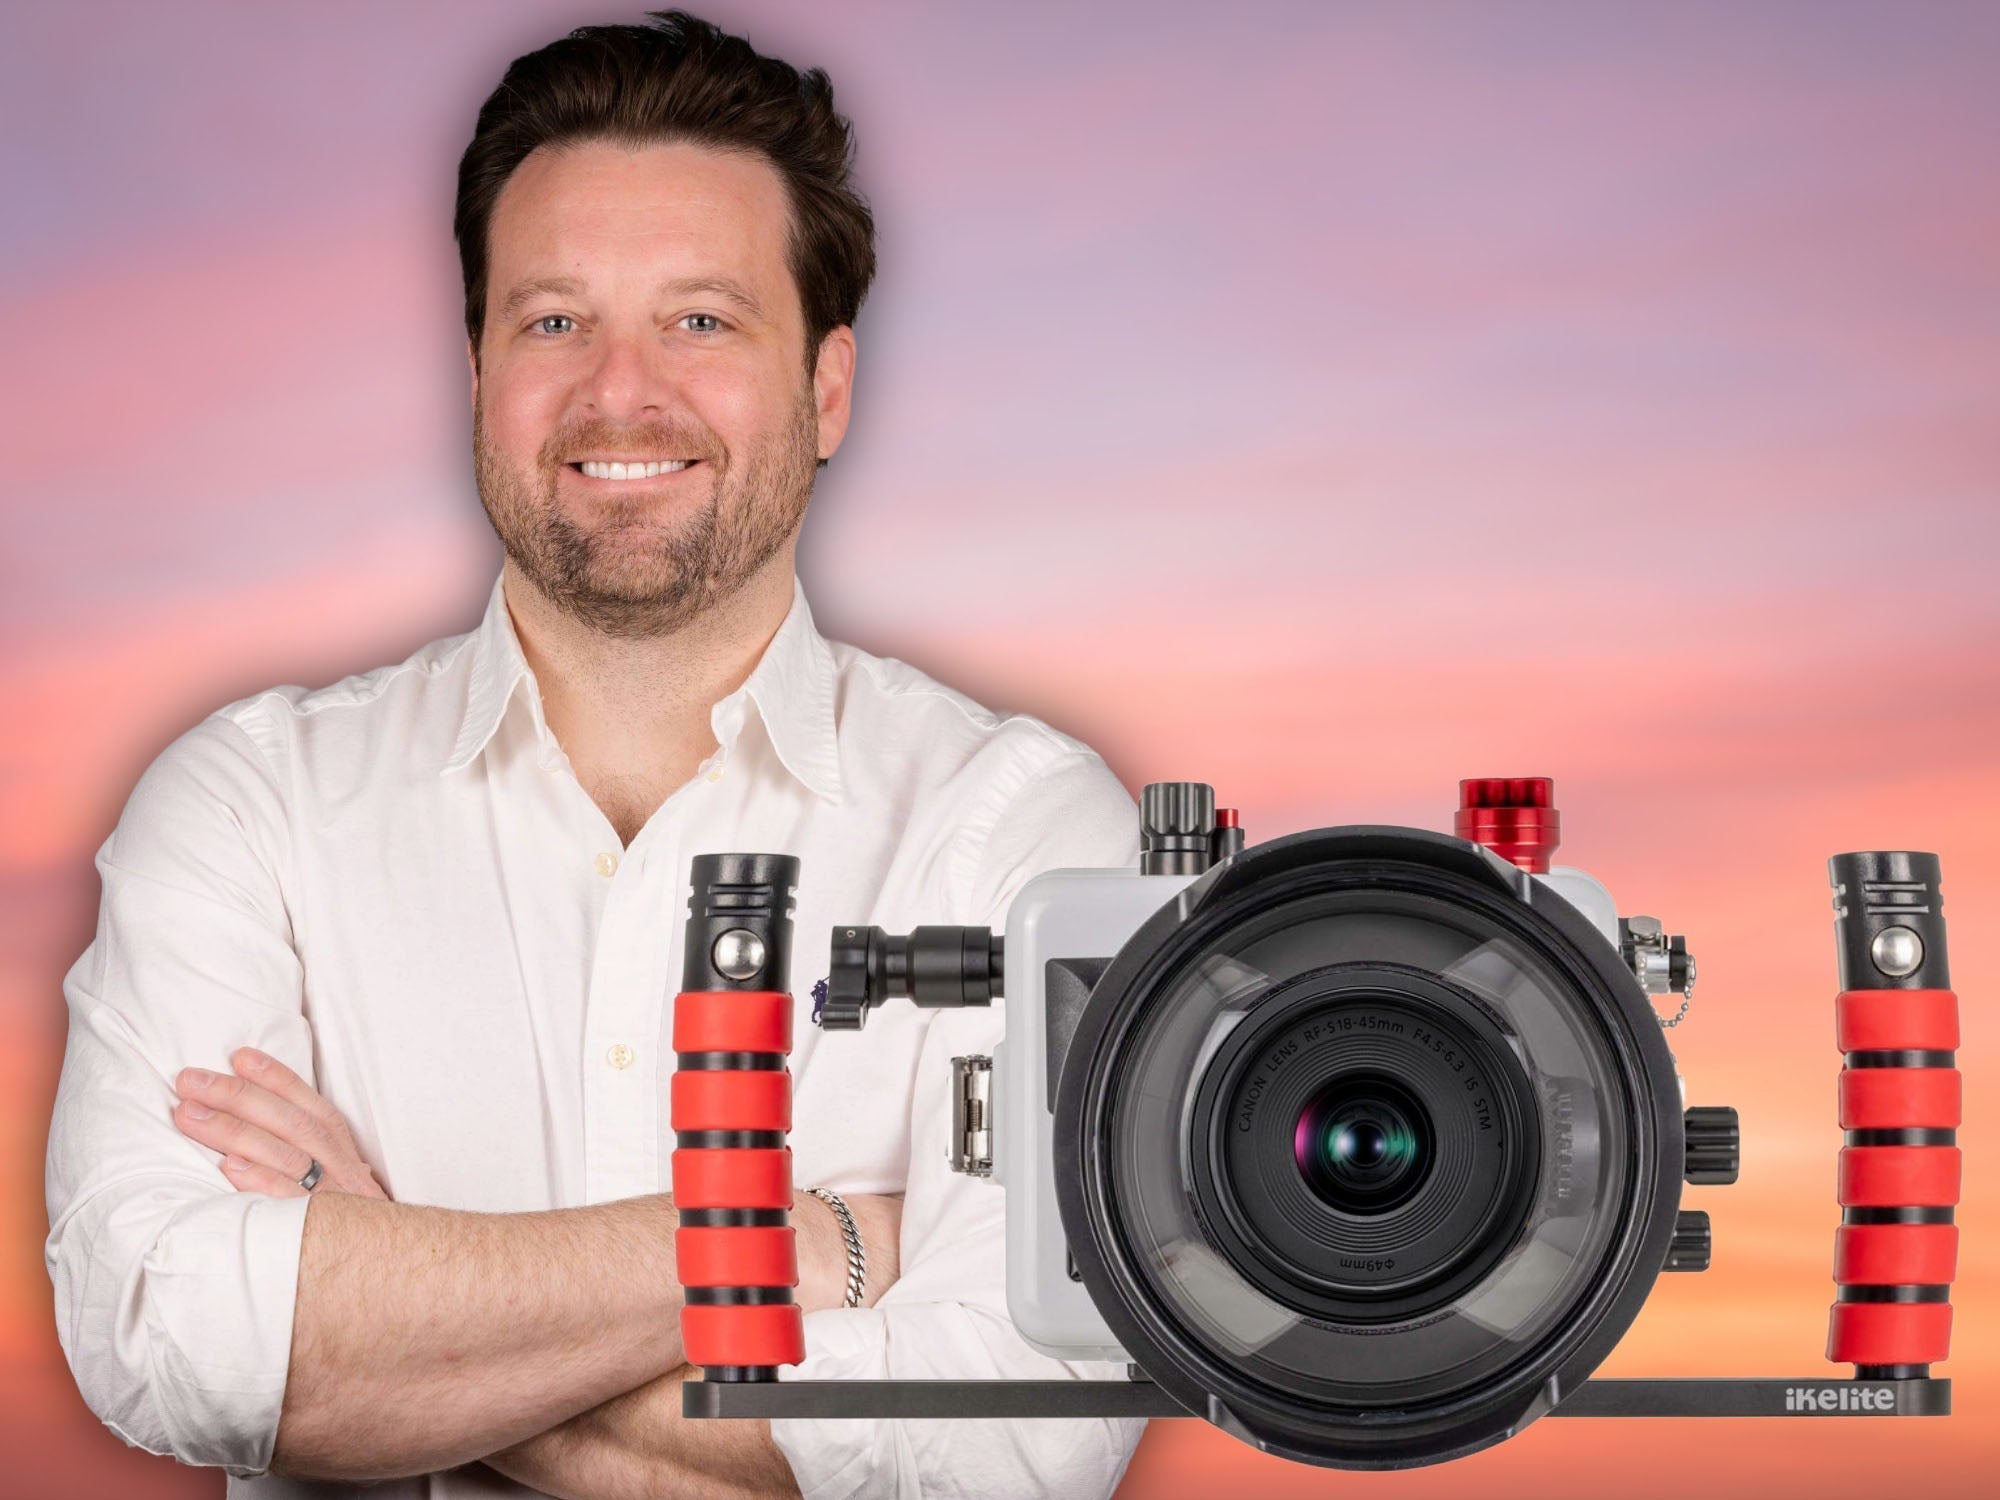
 John Brigham is the Vice President & head of product development at Ikelite. He was born with a flair for design and an entrepreneurial spirit as son of Ikelite founder Ike Brigham. He worked his way up in the business and is a natural fit in the R&D side of things. John dives the equipment as much as possible to test product and put himself in the "fins" of the user. You may also find him on the other end of an email or phone call when you reach out for product advice and support. When he's not underwater he's flying drones, setting off rockets, training his German Shepherd "T2", and spending time with his family.
![Canon R6 III Setting it up // 200DL Underwater Housing [VIDEO]](http://www.ikelite.com/cdn/shop/articles/Canon_R6III_Assembly_blog_cover_0a82abaf-8aba-4b17-a41f-7173a7c278fd.jpg?v=1769174781&width=1799)