


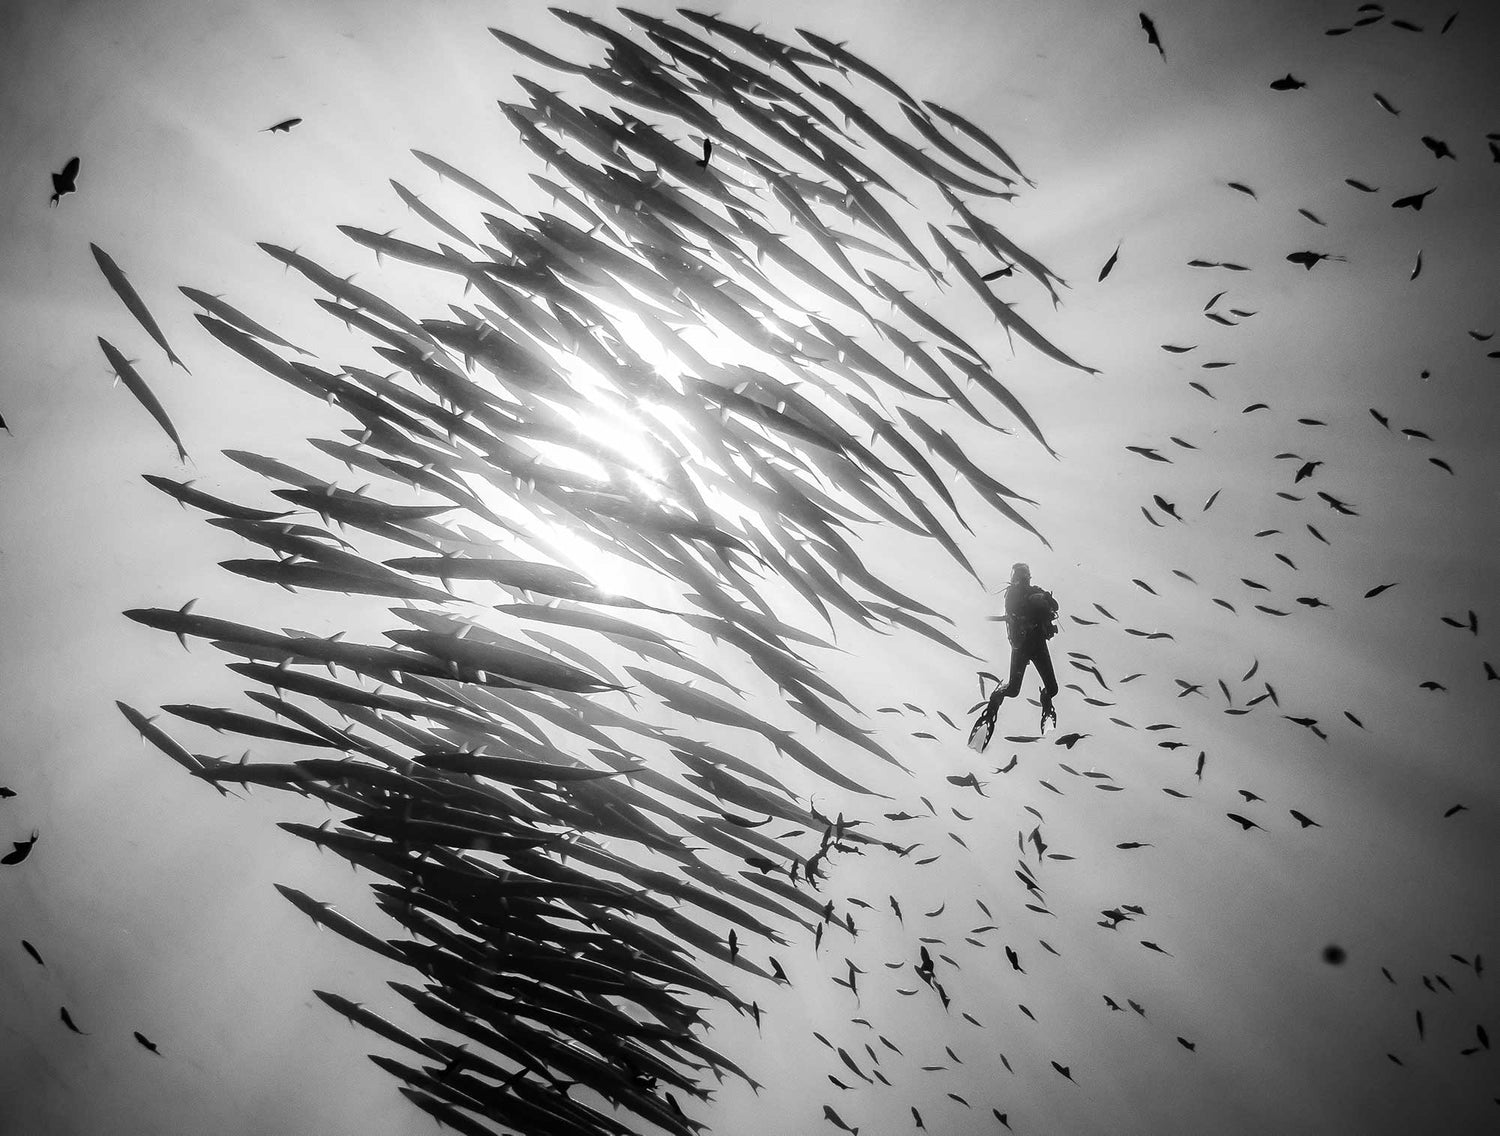
Schooling fish can be mesmerizing to watch, and exhilarating to capture a photo of. Use these tools to add schooling fish to your arsenal of underwater photography techniques, and dazzle your instagram audience with the organized chaos that is the beauty of a school of fish.

At the convergence of two currents in Wakatobi, these Barracuda continuously rebuild the famous "swirl." © Steve Miller
Where
All oceans, even some freshwater dives. Typically the schooling fish we travel to shoot will be aggregations like the Famous Sardine Run, or locations in the Pacific or Caribbean where converging currents cause large amounts of fish (often Jacks) to hover together facing the current. These conditions make finding the schools relatively reliable. Some reef fish will school up around structure like reefs, wrecks, or piers.
DSLR + Mirrorless
Mode: Manual camera, TTL if strobes
ISO: 200-400 for clear tropical waters
Shutter speed: 1/125-1/500
Aperture: f/8 to f/16 depending on how much available light
Point and Shoot
Mode: Manual if available, especially with flash. Program, Aperture or Shutter Priority work well for Natural Light.
ISO: 200-400 for tropical
Shutter speed: 1/125-1/500
Aperture: f/8

When the school is orienting to structure, they will always face into the current. To get super close, swim up current a bit, and drift back into the school with no sudden movements or bubbles to scare them. © Steve Miller 2021
Technique
Not all schools of fish will have the same lighting conditions. The trick is to expose the fish so they stand out with lots of contrast. An upward camera angle will be your first tool for this. Getting the camera close will be your second. Ideally, the photographer would be inside the school or very close to it, often we drift through the school, disrupting the patterns for a moment. When the fish part and then come back together there can be magic compositionally speaking. Shoot a lot of frames and you will probably prefer the ones that have the group of fish all facing the same way more or less. This repeating pattern can add a harmony to the image that pleases the eye.

The chaos of fish going every which way can be cool, but when they line up together in a unified shape, there is a repetitive pattern that works photographically. © Steve Miller 2021
Strobes
A big question is to use strobes or not. Since fish often school in a current, strobes will make it harder for you to maneuver against the flow. Conventional wisdom also tells us that since we only count on our flash to light up things very close, this means that lighting up the whole school would be impossible, so leave the strobes behind, and for a lot of cases this is a good choice.

Even without flash schooling fish can be highly reflective of the natural light. © Steve Miller 2021
However, shiny fish like Barracuda, Jacks, etc. will reflect the flash from great distances, even 20 feet in super clear water. You won't saturate colors in the way close focus wide angle work does, but you may like the bit of highlight that reflects off of the fish (or at least many of them).
If you are using flash, be most careful to not overexpose the fish closest to you, which can easily happen. Place your strobes pointing outward and away so that they cover the widest area, and the two beams intersect far from the dome port. TTL will protect you from exposure issues if you are using spot metering and there is a fish in the middle. If shooting manual, be prepared for a low flash power.
A good reason to consider leaving the flash behind is if the visibility isn't very good. In this case your flash may only light up scatter, so you may be better off without them, or you could just turn them off.

Reflective sides will pick up your flash from distances that wouldn't light coral up at all. © Steve Miller 2021

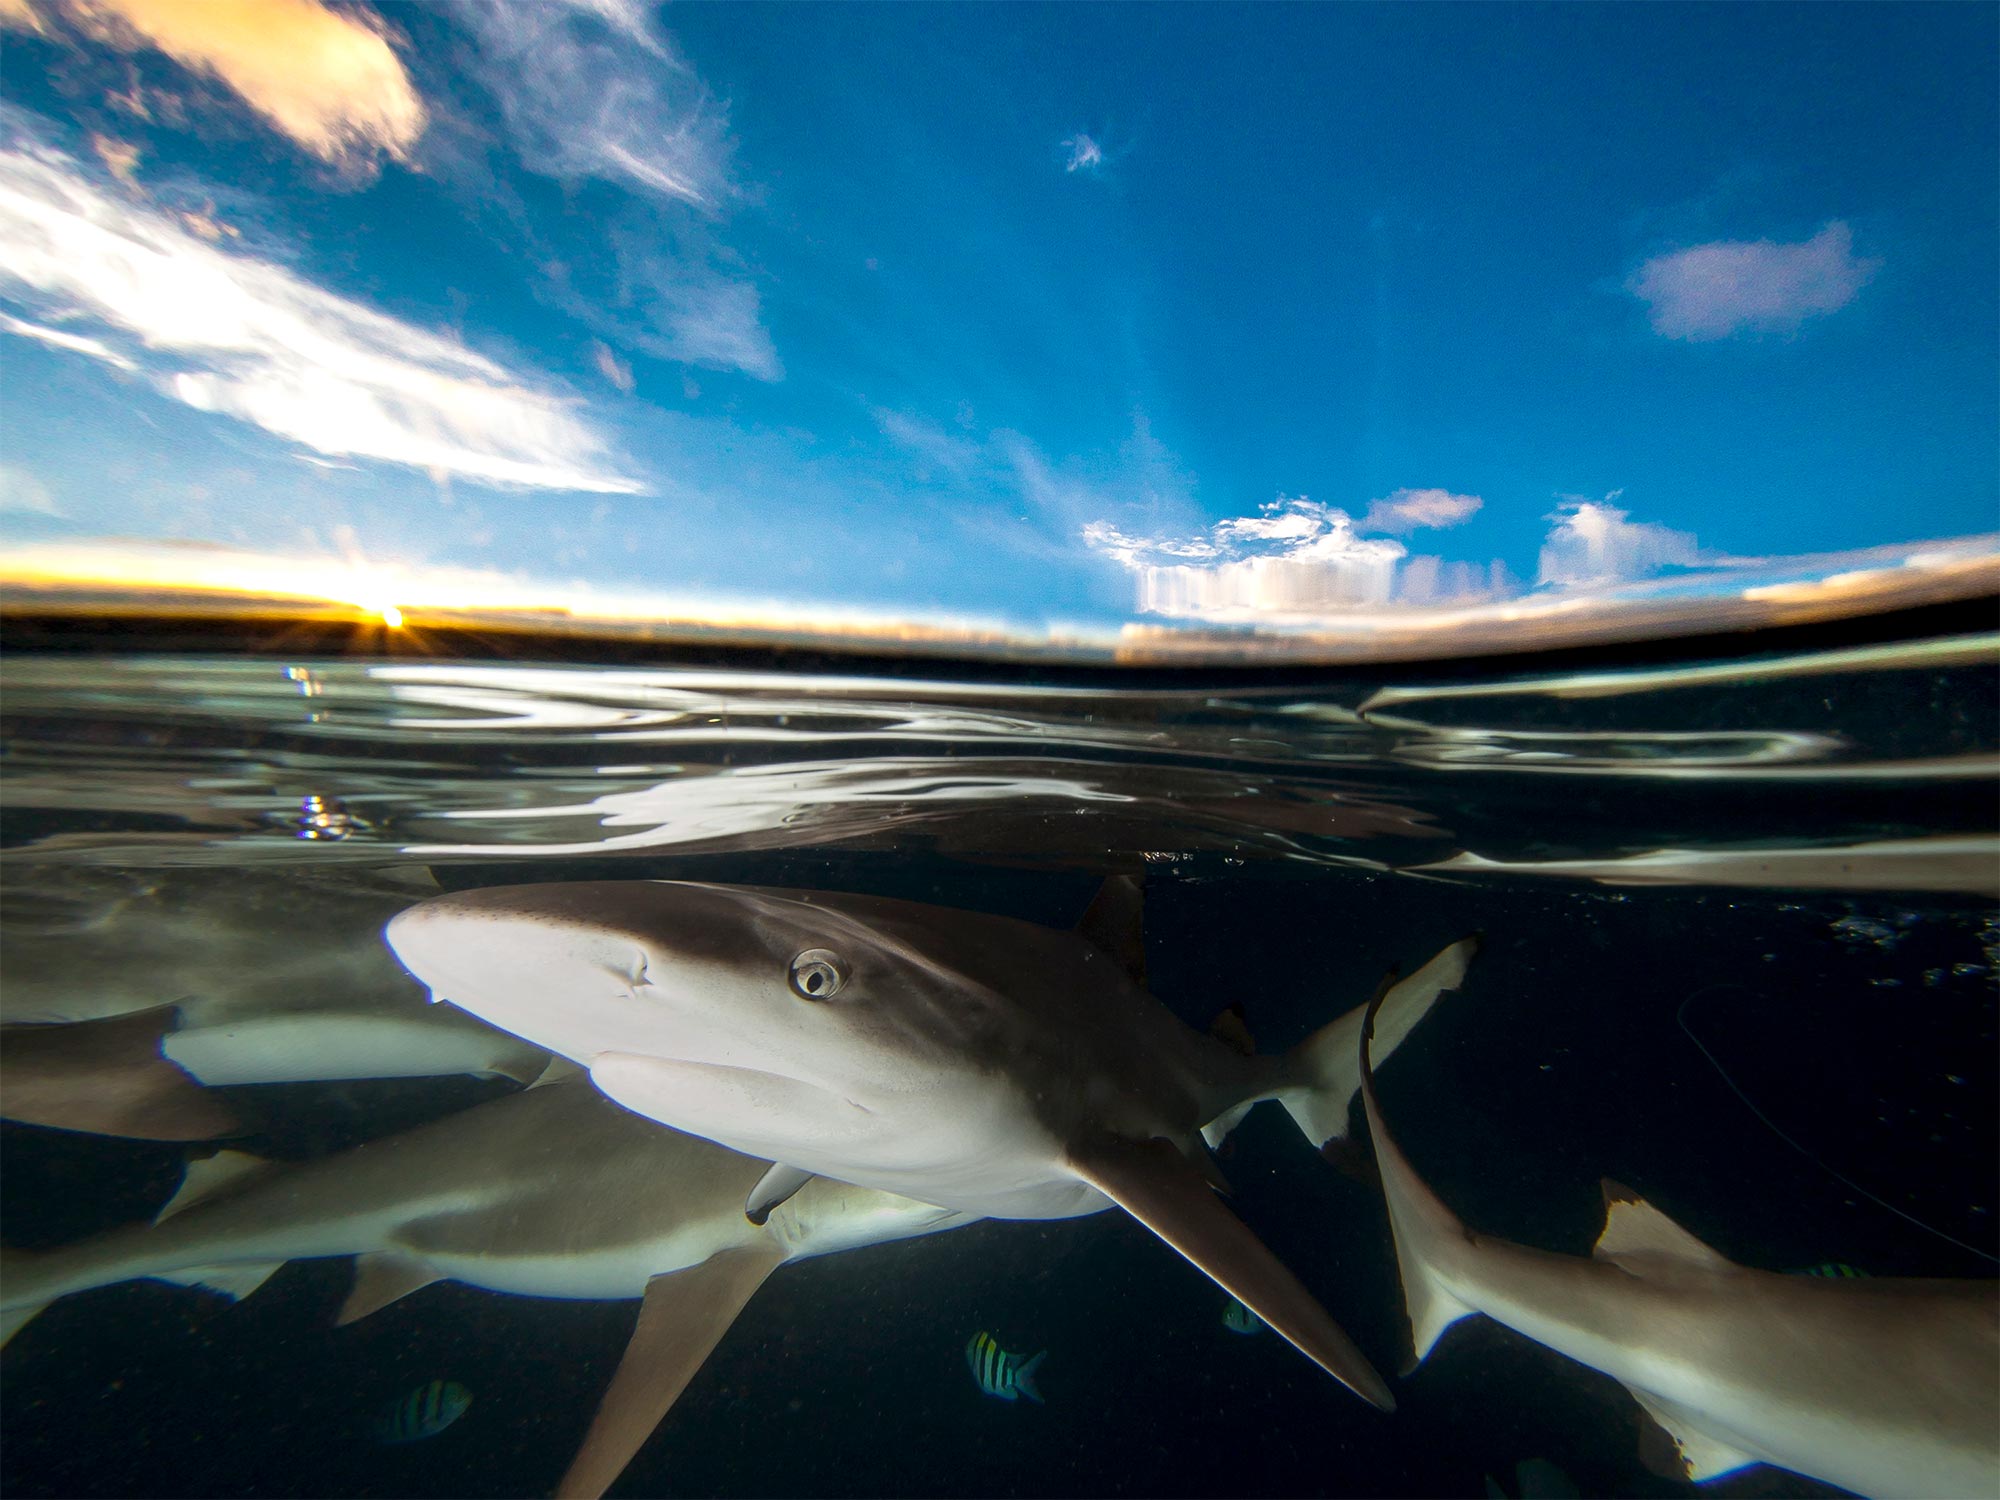
Once you nail down your schooling fish underwater photography skills, incorporate in some of your other favorite techniques - like the split shot seen here - and make some magic! © Steve Miller 2021
 Ambassador Steve Miller has been a passionate teacher of underwater photography since 1980. In addition to creating aspirational photos as an ambassador, he leads the Ikelite Photo School, conducts equipment testing, contributes content and photography, represents us at dive shows and events, provides one-on-one photo advice to customers, and participates in product research and development. Steve also works as a Guest Experience Manager for the Wakatobi Dive Resort in Indonesia. In his "free" time he busies himself tweaking his very own Backyard Underwater Photo Studio which he's built for testing equipment and techniques. Read more...
Additional Reading
How to Shoot Split Shots (Half-In, Half-Out of the Water)
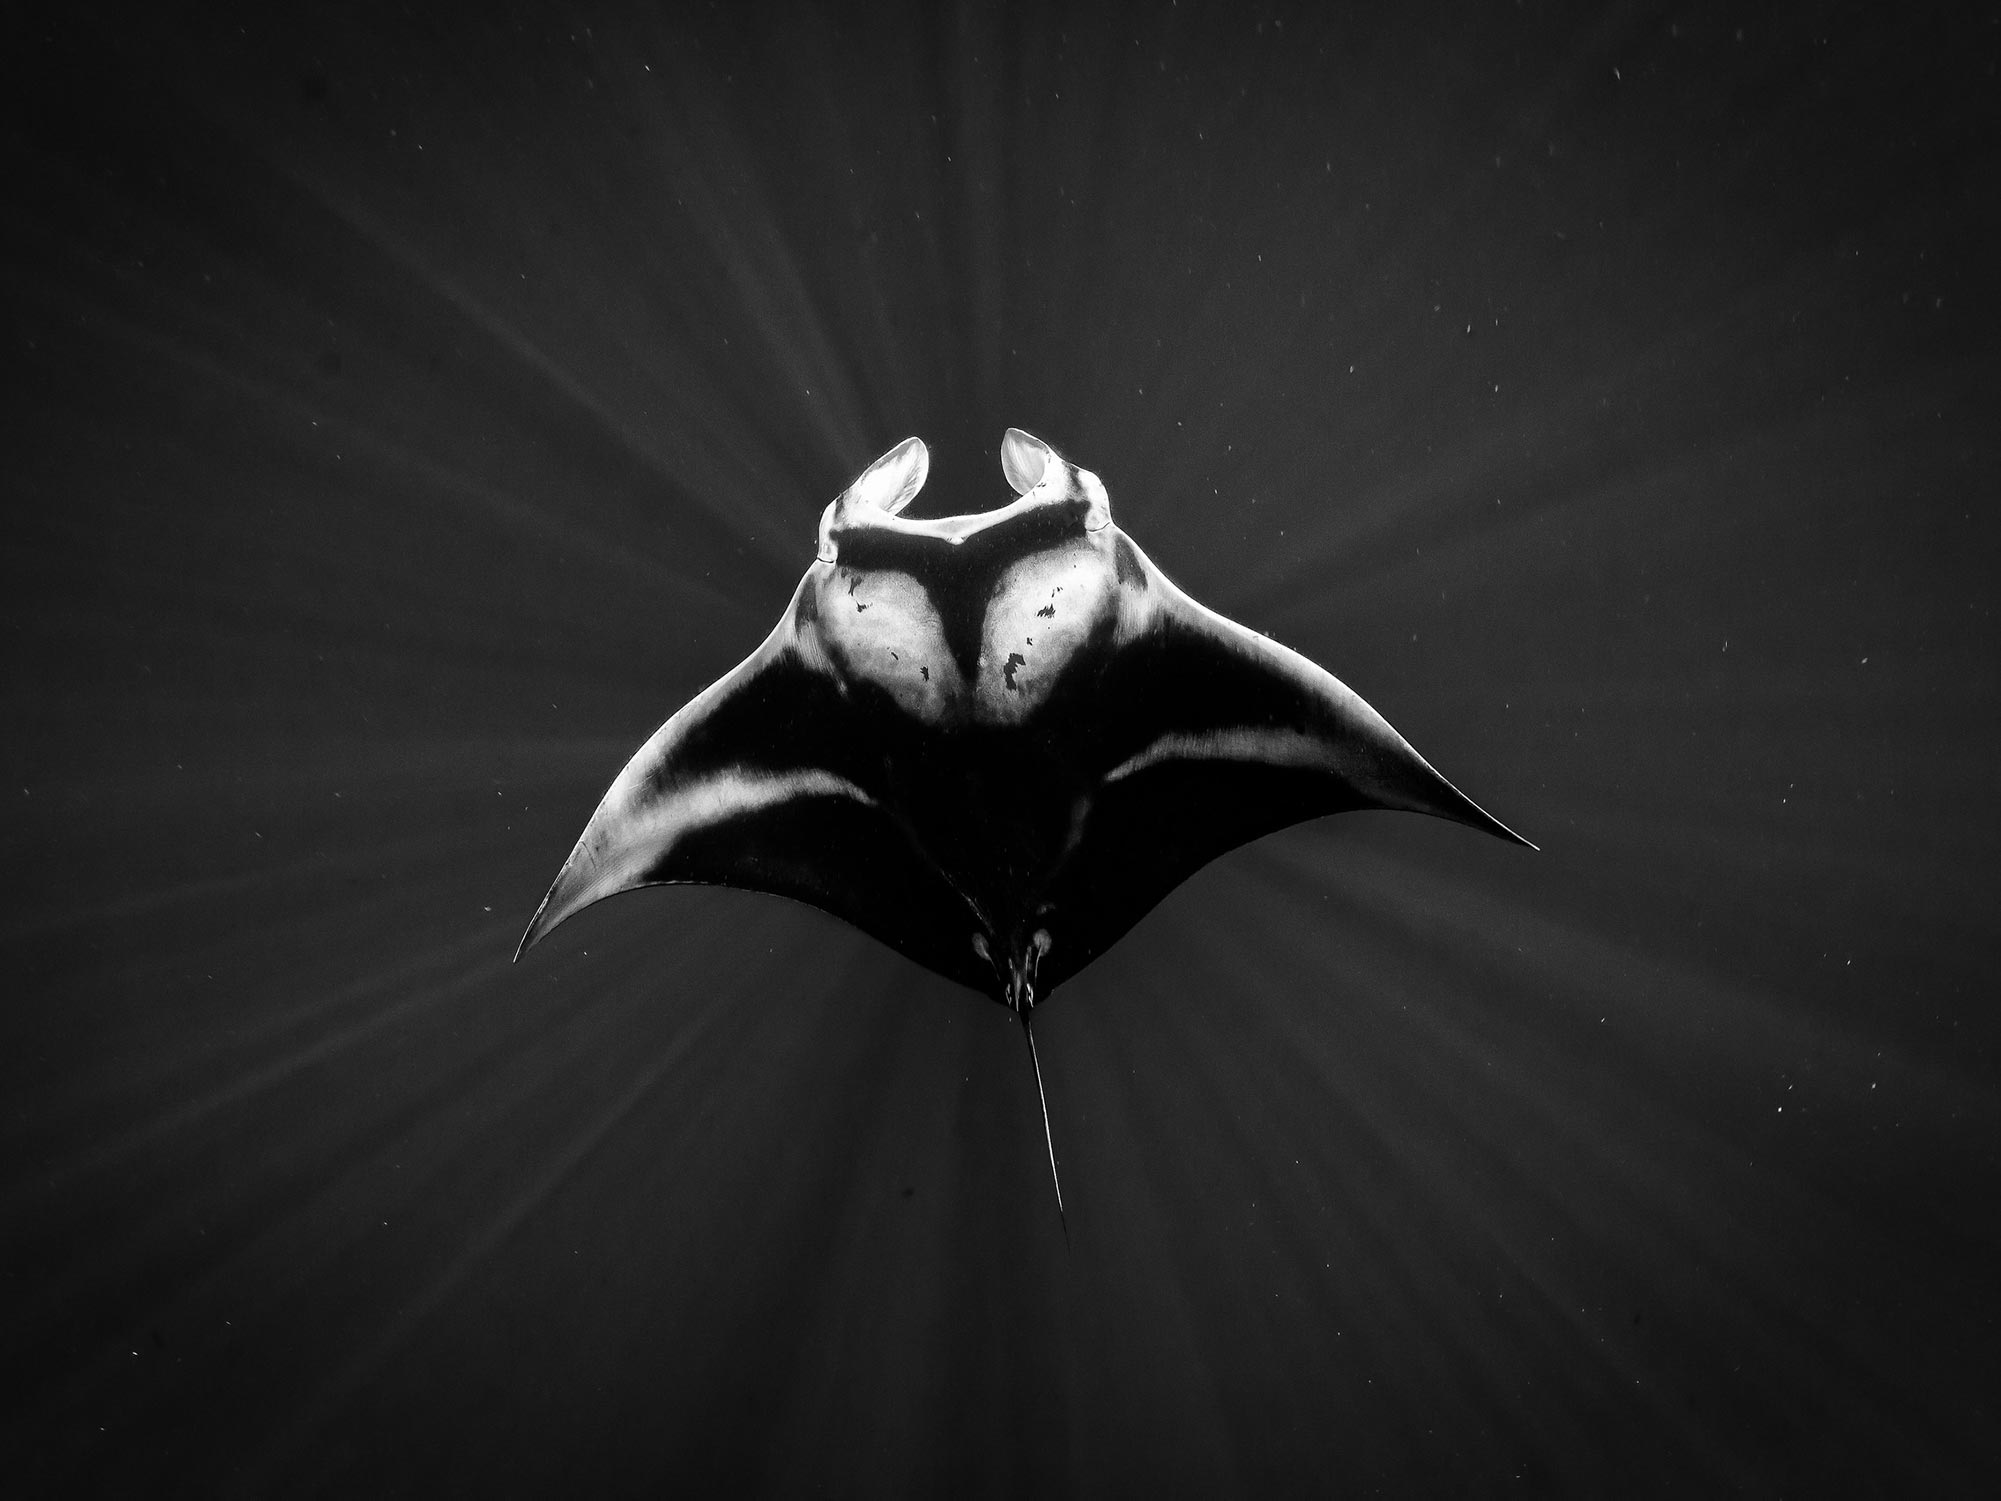
Behind the Shot: Swirling Mobulas in Southern Baja Mexico
Underwater Wreck Photography Settings and Techniques
Why You Need a Fisheye Lens Underwater
Shark Over Under Photography Camera Settings and Technique
Close Focus Wide Angle In Depth