


By Brandon Verdura
One would think photographing a wild creature would be more complicated than a human being, but that’s not always the case. Most of the time you are just trying to capture the wild animal being… well…wild, in their element with no major expectations. Shooting people can be a different story, typically with a lot of ideas in our heads that can be difficult to properly communicate with the model.
We are going to go over all the barriers I have encountered and how to work around them. These tips can help ensure that you have a smooth shoot whether you’re shooting professional freedivers or someone who can barely swim (many clients I have had are surprisingly poor swimmers, who would have thought that people wanting underwater photos actually aren’t that comfortable in the water).

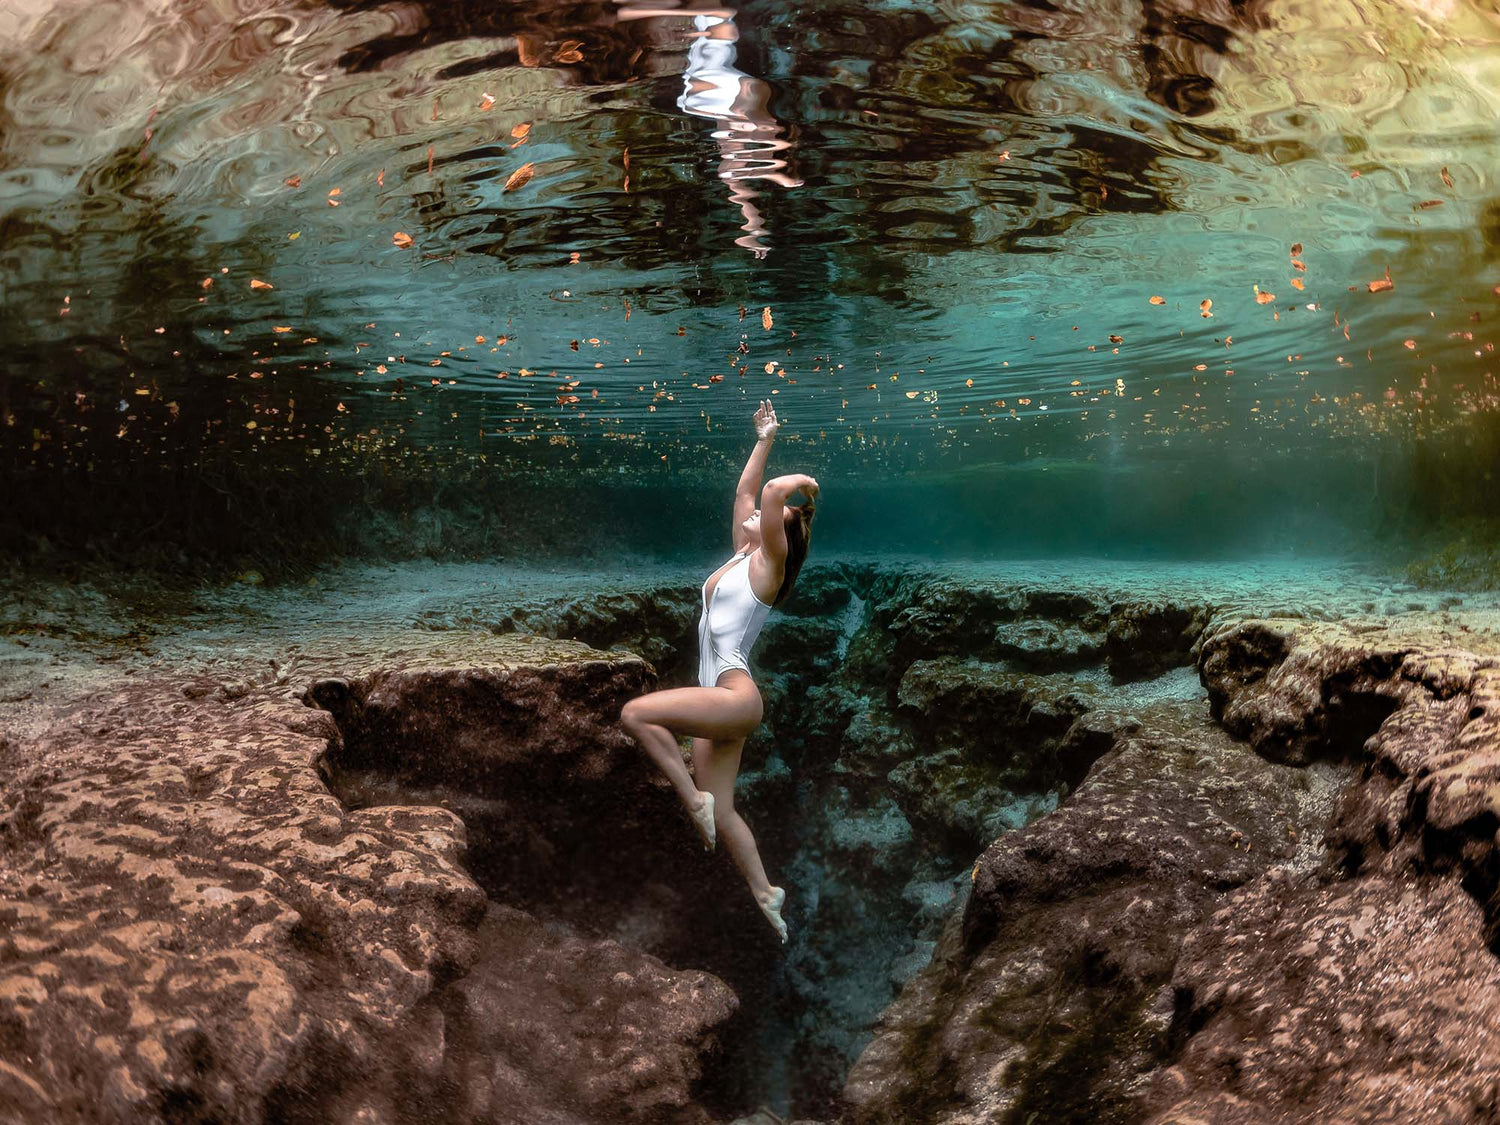
The key to being creative in the water starts with good preparation. © Brandon Verdura
1 | Assess your models comfort underwater
One of the first things you need to do before you even touch the water is to get a feel for your model's comfortability in the water. Preferably a few days before the shoot. Assuming you are someone who is comfortable in the water, this is very easy to overlook. You may think swimming 100 yards off the beach and diving to 15ft (4.6m) for some shots is easy… while your model may not be able to dive below 5ft (1.5m).
Here's a quick story: one of my best friends came to visit me in Hawaii and really wanted to see some sea turtles. I knew just the spot that was full of turtles. It was like 200 yards off this beach, easy I thought. We pull up to the beach, and I grabbed my extra set of snorkel gear only to find out he’s never used fins before. Let's just say it was a loooooong swim. So don’t assume, ask!
The questions I usually like to ask to gauge one's comfort underwater:
- Do you freedive?
- What depth are you comfortable diving to?
- Have you taken a freediving course?
- Do you have your own equipment?
- Do you get seasick?
Depending on the answer will dictate the shoot. You may need to shoot in a shallow spot off the beach or bring a float for them to hold onto between shots.

Whether your model is comfortable swimming with stingrays or they've barely gone swimming before, a safety briefing is the most important part of this process. © Brandon Verdura
2 | Safety briefing
After these questions is usually when I will go into talking about safety out on the water. Such as if at any time they are tired, or feel unsafe to let me know and either grab the float or we can go to shore or the boat to take a break. The last thing you want is for your subject to feel uncomfortable. You want the shoot to be enjoyable for them… it will show in the images.
Depending on their freediving experience, I will go into some of the freediving safety key points such as equalizing often and not hyperventilating. Along with that I will also go over some simple freediving techniques that will allow them to have a better experience such as breathing cycle, taking a bigger breath, and water entry.

You don’t need to run through a full freediving course, but spending 5-10 minutes with your model before the shoot will make a huge difference in the images you are able to capture. Plus they will appreciate the new tips they’ve learned. Happy clients tend to tell their friends which is good for business. © Brandon Verdura
3| Facial expressions and outfits underwater
If your subject if going to be shooting in an outfit and not with a mask and fins there are some things to keep in mind and to brief before getting into the water. One is facial expressions while underwater. Explain to them that while underwater, try to relax all the muscles in their face to give the most natural look. And they can probably expect to get some water up their nose, unfortunately. To help mitigate this, have them slowly blow air out of their nose while they are posing if they are leaning back or upside down.
Depending on the outfit they will be wearing, the fabric could weigh them down in the water and make it difficult to swim. So it might be a good idea to have someone else assist the model and have a float nearby. Do you remember the thing about happy clients? Yeah, well a drowning client is not good for business.

Relaxing your facial muscles underwater is easier said than done, especially when your sinuses are being inundated. With practice this look can become effortless and will make your photos stand out. © Brandon Verdura
4 | Staying below the surface and synching breaths
Another quick point to bring up is that they may not need to take in a full breath for the shot. To sink below the surface they may need half of a breath. People new to the underwater world may not like the idea of only taking half of a breath but explain that the time underwater shouldn’t be more than 10 seconds for a shot like that. Have them breathe comfortably and then take a deep breath… then blow half of it out as they are dipping below the surface. They should blow out the air before they go underwater; this will allow them to sink better.
If you and your subject are trying to do a deeper or longer dive it can sometimes be difficult to sync your breath up. To manage this what I like to do is a three count. The three count is basically 30-45 seconds enough for three good, slow breaths. Most of the time I will give the count to the subject, allowing them to count down to their comfort, as well as delay the dive if they are not ready. They will hold out three fingers signifying three breathe ups. Then after that last one, you signal to dive by waving your finger. This gives a nice easy visual cue that can be seen even at a distance. You can let them know that it is perfectly fine to stay at two if they are not ready. That way if they go to one you’re not already prepping to dive. This little countdown method is great to ensure some solid dives. It takes away from any surprise dives where you are chasing the subject down. This also works great if you are wanting to dive first to get in position. You tell your subject to dive 10 seconds after you and lead the count that way the subject knows exactly when you are diving.

For experienced underwater models weight belts can be a great asset. These will prevent the natural tendency to float to the surface and they can also be seamlessly incorporated into some outfits or even photoshopped out. © Brandon Verdura
5 | Posing
As for posing, the fact that you are weightless allows for endless possibilities to be creative. So keep your mind open and try something unique. You can have your finless model stand on the bottom bringing a surreal look to the underwater world. You can even use the water's surface as the ground and flip the image. Generally, I like to tell my subject to just flow with the water, be like water. Natural and free.
If you do have specific ideas, it's best to add those to the brief before you get into the water. Maybe having a few images that you can show them what you would like to capture. Giving them a visual will allow them to nail the shot. You can also bring a waterproof pad with ideas written on it so you don’t forget them once you are in the water.
Another fun thing to try and capture is mask flares. A lot of the time when my model is in direct strong sunlight, I will point in the direction of the sun for them to look toward it. This will generally produce the right angle for the mask to flare. Talk to your model on the surface and let them know, that when you point at your eyes and then the sun, they need to look up at the sun.

Having your model wear a reflective mask will make the flare so much better. If done right, it creates this awesome effect. © Brandon Verdura
In conclusion
The key to being creative in the water is getting most of this stuff out of the way before you even touch it. Communication is not as easy out on the water, plus water gets cold and cuts into your shooting time, so the more you can get out of the way on land the more time you have for creativity in the water. I hope you have found this article useful. Hopefully, this will allow you a smooth shoot and avoid some of the mistakes I have made over the years. This article is just one little section in my upcoming course on underwater photography. If you enjoyed this, be sure to head to my website www.SeeTheAbyss.com and subscribe to my email list to be notified when it is released.

Brandon Verdura is an avid photographer, freediver, and US Coast Guard helicopter rescue swimmer living out his dream in Oahu, Hawaii. He developed a passion for the water at a young age, learning how to freedive and spearfish in his father’s footsteps in South Florida. His career takes him to many water-based locations where he is able to master and practice his love for photography. Check out more of Brandon’s work on his website or Instagram @brandonverdura.
Additional Reading
Setting the Tone: Color Grading for Underwater Photography
Our Favorite Underwater Photography Podcasts | Part 3 with Brandon Verdura
5 Tips for a Successful Freediving Photoshoot
Safety Advice for Underwater Photographers
What I Wish I Knew When I Started in Underwater Photography [VIDEO]
![Underwater Exposure Explained | Aperture Settings [VIDEO]](http://www.ikelite.com/cdn/shop/articles/aperture-underwater-cover.jpg?v=1684500115&width=2000)